Pizza Crust Dough (for a 2 lb bread maker)

Ingredients
- 1 1/2 cup hot tap water
- 1 egg and one egg yolk
- 1 1/2 teaspoon salt
- 3 tablespoons sugar
- 5 cups (1 pound 8.7 ounces) bread flour
- 4 1/2 tablespoons instant milk
- 2 1/4 teaspoons quick yeast (it doesn't have to say bread machine yeast)
Instructions
- Add ingredients to bread pan in order listed.
- Select dough setting.
- Push start. Your bread maker should read 1:30 minutes but with this recipe you can remove the dough as early as 60 minutes.
- Either refrigerate or roll out and top with your favorite toppings.
- Bake at 450 degrees for around 12 minutes depending on how thick your crust is.
- Enjoy

If you master this recipe, which is super easy, it will make your decision to procure a bread maker, whether you had to buy it or just take it out of storage, worth it. This pizza dough recipe will open up lots of great main dish, appetizer, bread sides and dessert options for you. It very well might even elevate you to hero status with your family. I got this recipe out of a recipe book that came with my very first bread maker, around 20 years ago. It was the first thing I made in my bread maker and it actually made me a bit of a mini celebrity among my kids and their friends… seriously, it really did! The things I make with this recipe are requested by family and friends alike and it is easy and convenient. Today, I am just going to tell you how to make the dough and some options for making amazing homemade pizza, but over the next week I will share ideas on how to make this into bread sticks (garlic or cinnamon/sugar), calzones, pizza roll-ups, and dessert pizza.
One of the really great things about this recipe is that it will take you about 5 minutes to put all of the ingredients into the pan of the bread maker and push start. Then you have between 60 and 90 minutes to do something else while the bread maker makes the dough for you. This is the only dough that I will give you a 30 minute window to play with on it being ready. Actually the bread maker will beep and read 0:00 when it is ready but you can take it out up to 30 minutes before that. Then you can either proceed with making your pizza or put it in a gallon sized zip lock baggie and refrigerate it for up to 3 days. You could make dough on the weekend and just come home to have it ready to go after work during the week.
Anyway here we go:
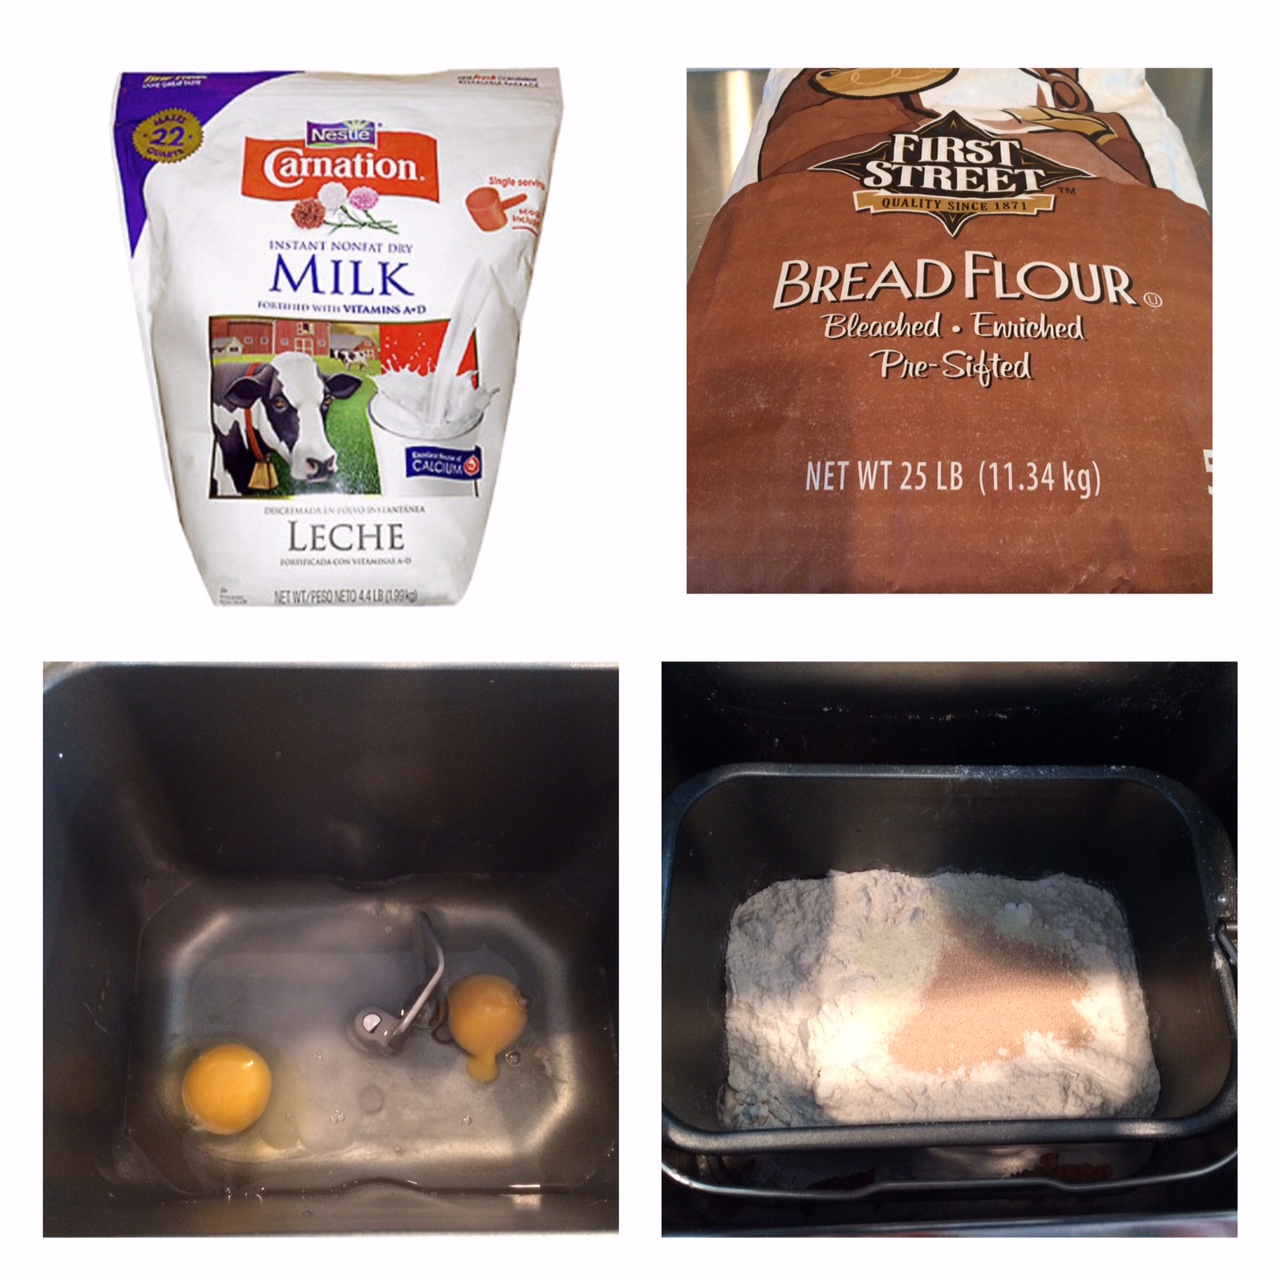
Take the pan out of your bread maker (make sure that the little kneader piece is in the pan before you start) and add your ingredients as directed in the recipe above. In case you haven’t heard of instant milk I took a picture, it does not have to be any certain brand, store brand works fine. I also took a pic of the bread flour, it is important for results to use Bread Flour. The wet ingredients and salt go in first and then the dry ingredients ending with yeast, make a little well in the flour so it stays dry until the machine mixes it in. I am giving you the weight and measurement of the bread flour, I always weigh it and pre-bag it for convenience. Refer to my bread flour system page for more info on that. You can definitely use a measuring cup just be careful to spoon in and level off so you aren’t heavy handed with the flour.

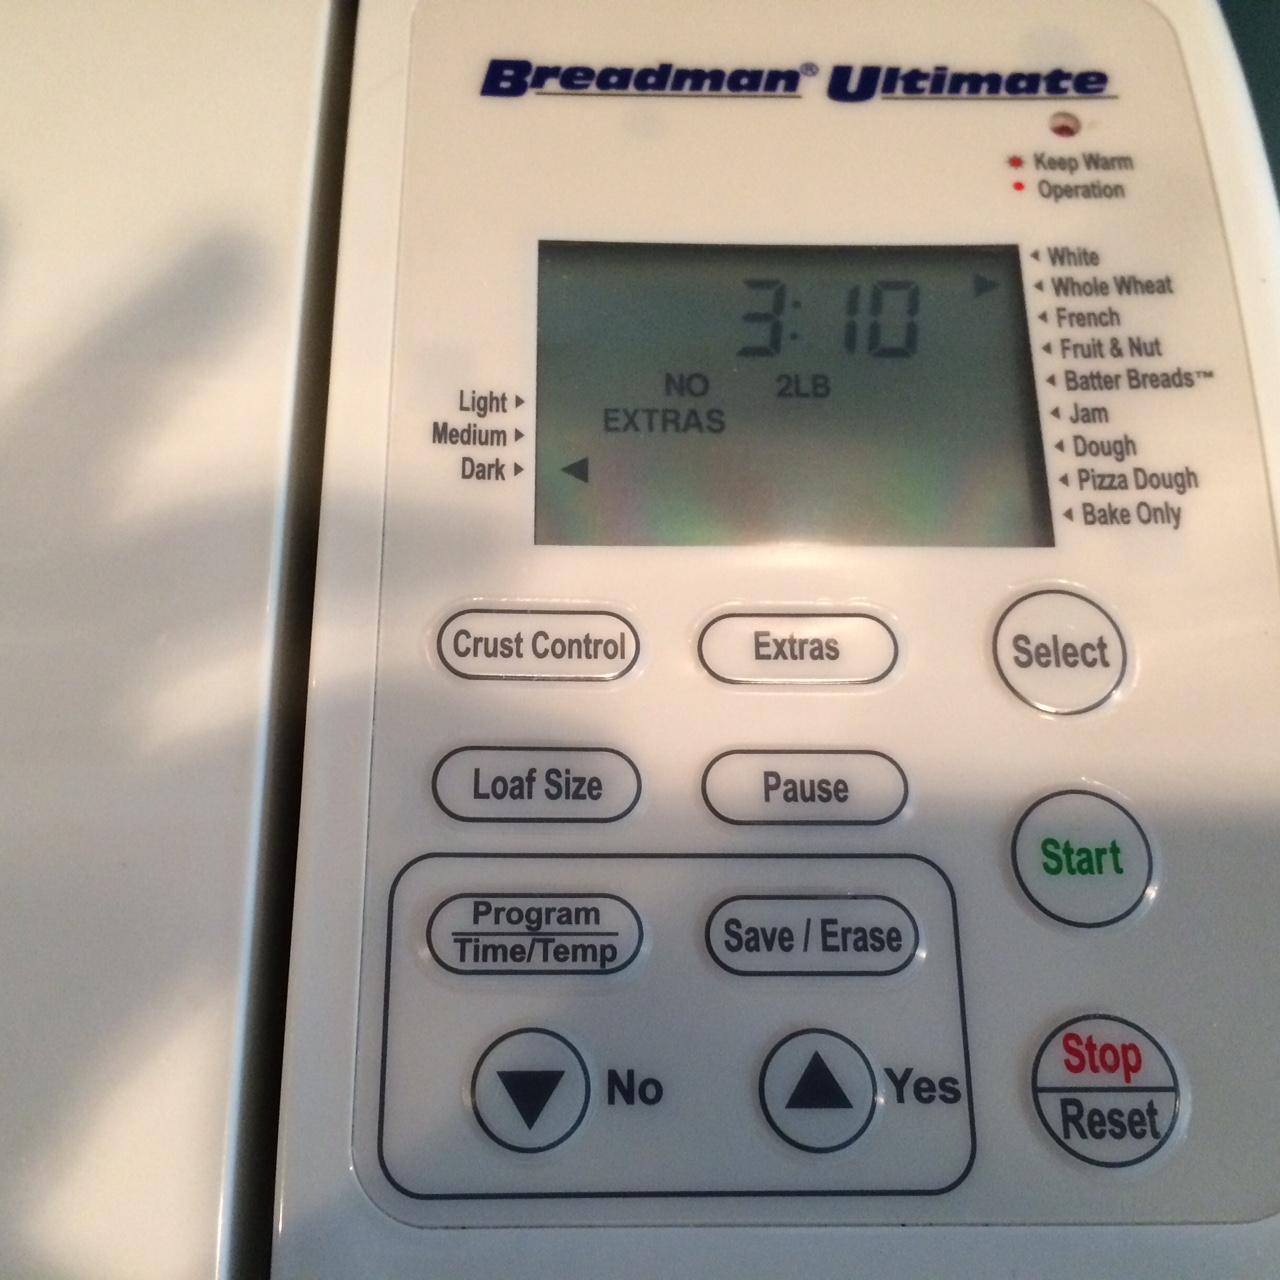
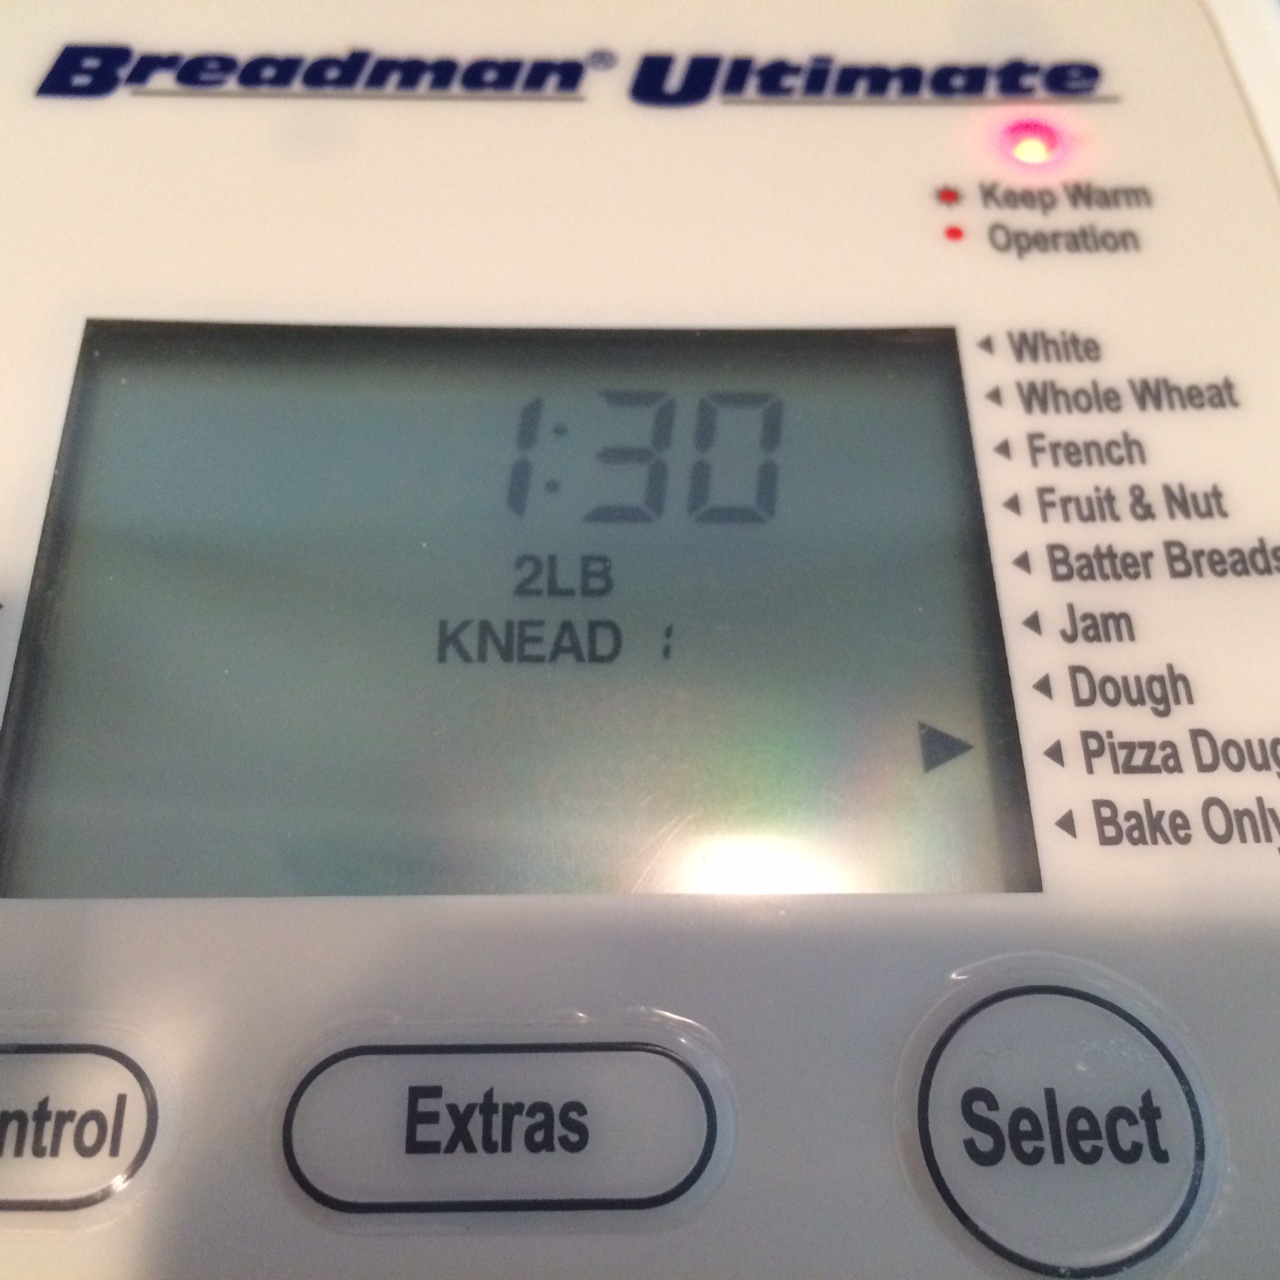
Now you are ready to put the pan in the bread maker and get it started. These are pictures of my most complicated bread maker in case you need help. Ultimately you want to get it to the dough setting. On all of my bread makers except this one, I just have to push menu or select and it advances to the dough cycle, on this particular bread maker I have to push stop/restart first and then it will at the top of the list, then I push the select button until I get to dough setting where it will read 1:30. This is the only machine that has a pizza dough setting as well, I always use the dough setting because the only difference is the beep will be in 60 minutes rather than 90 minutes, the kneading is the same. As I said before you can take the dough out when there are 30 minutes remaining on the timer or let it go until it reads 0:00. Don’t let it go longer than that or it may rise enough to spill into your bread maker and make a mess. Anyway, at this point you will push the start button and just take a peek in to make sure that something is going on (I have accidentally forgotten to put the kneader thing in there and come back when the beeper goes off to see that nothing has happened). The kneader piece is very important.
Now you can go do laundry, pick the kids up from school or take a nap, just plan to be back in between 60 and 90 minutes.

If this is the first time you are using this bread maker and you want to keep checking on it, these are pictures of how the dough looked at different times during the process.

At between 60 and 90 minutes remove the dough and either put it in a gallon sized baggie, seal it and put it in the fridge to be used anytime in the next 3 days (maybe longer, that’s just as long as I have left it) or start rolling it out for dinner tonight.
When you take it out of the fridge it will have expanded and that is fine. It may seem a little sticky on the edges from condensation in the bag, no problem just put a little flour down where you will be setting the dough. I just took off about one fourth of the dough for the picture and spread it out (I left the rest in the baggie in the fridge for later). I then rolled it (we like it thin). At this point I put my pizza stone in the oven and preheated the oven to 450 degrees. You can use a pizza stone or a cookie sheet or whatever you like. The hot stone is how I like to do it.
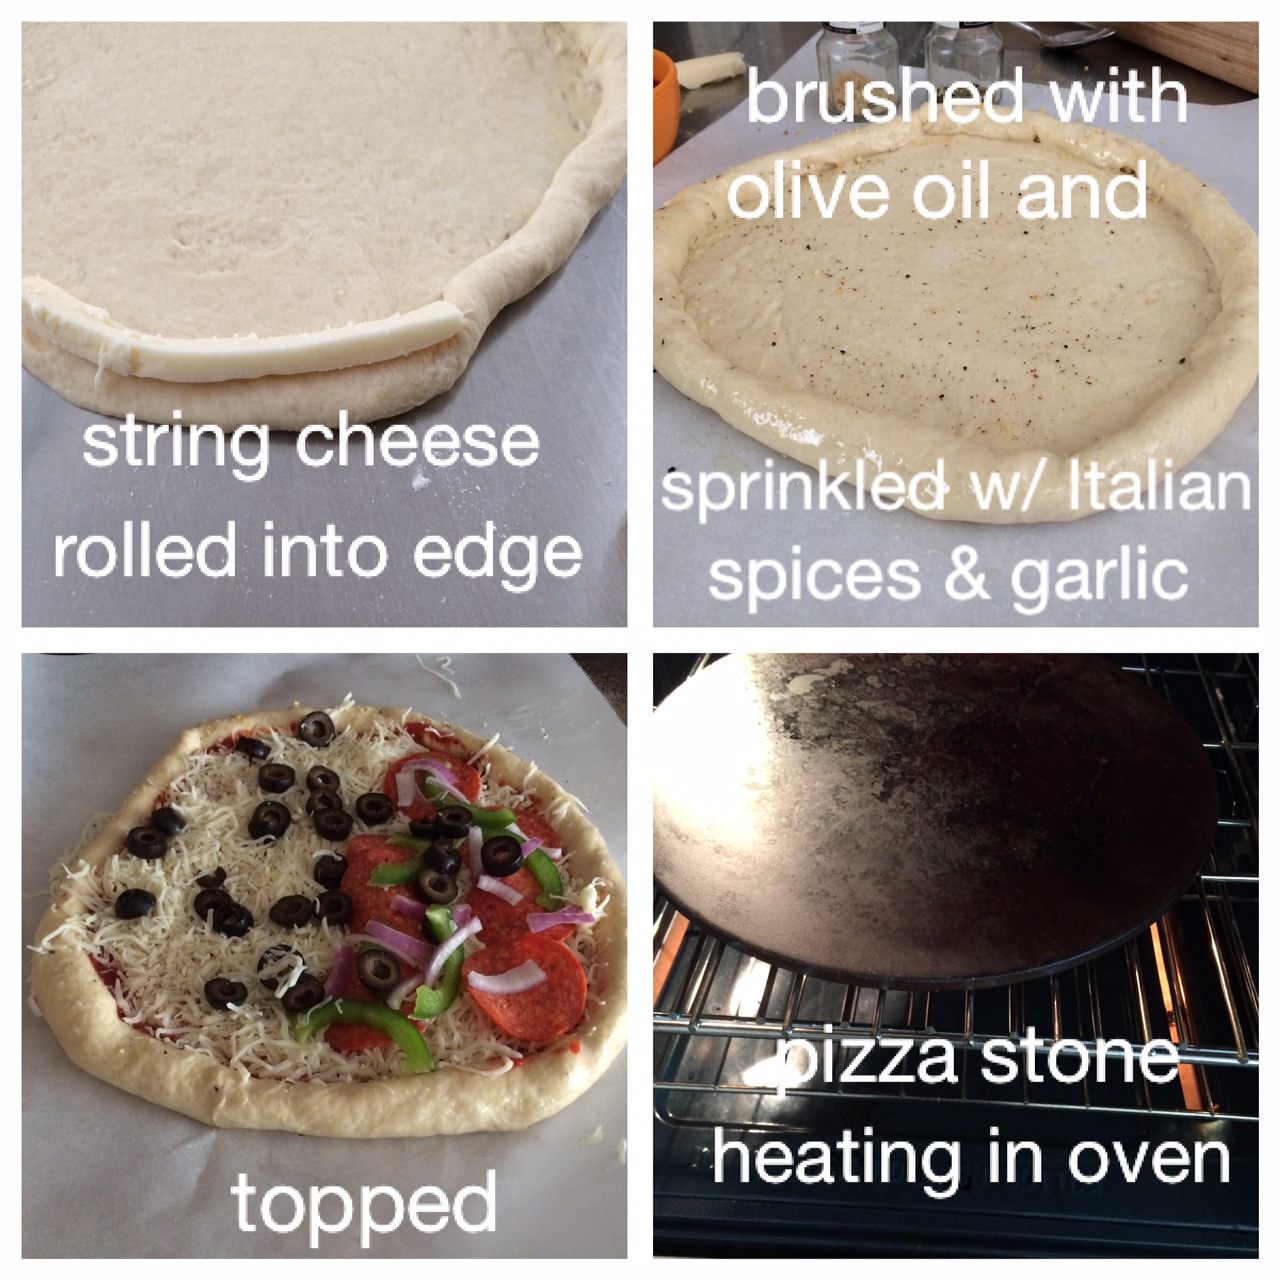
Once it is rolled out to your preferred thickness it is your canvas. My picture shows that I cut string cheese lengthwise in fourths and put it on the edge of the pizza, rolled it in and sealed it. Then I brushed mine with olive oil and sprinkled it with Italian seasoning and a little garlic sea salt. Use your preferred pizza sauce, store bought or homemade, and follow with whatever toppings you like. When you are done, put it on the pan you want to bake it on. Spray the pan with cooking spray unless you are using the stone. I prepare the dough on parchment paper and just slide the parchment off of another pan onto the hot stone in the oven. Be careful not to burn yourself.
Baking time will vary depending on how thick your pizza is, what kind of a pan you cook it on, etc, but mine took exactly 12 minutes to cook to perfection. The top picture is a side view of the cheese stuffed crust.

Your options for pizza alone are endless; let each kid make their own mini pizza with a selection of toppings; go veggie pizza; or use up the taco meat from last night, sprinkle with tortilla chips, some Mexican cheese and top it with leftover lettuce and tomatoes when it comes out of the oven and it won’t even look like leftovers. The same goes for the left over chicken, be creative. Have fun and enjoy!


Leave a Reply