Macarons
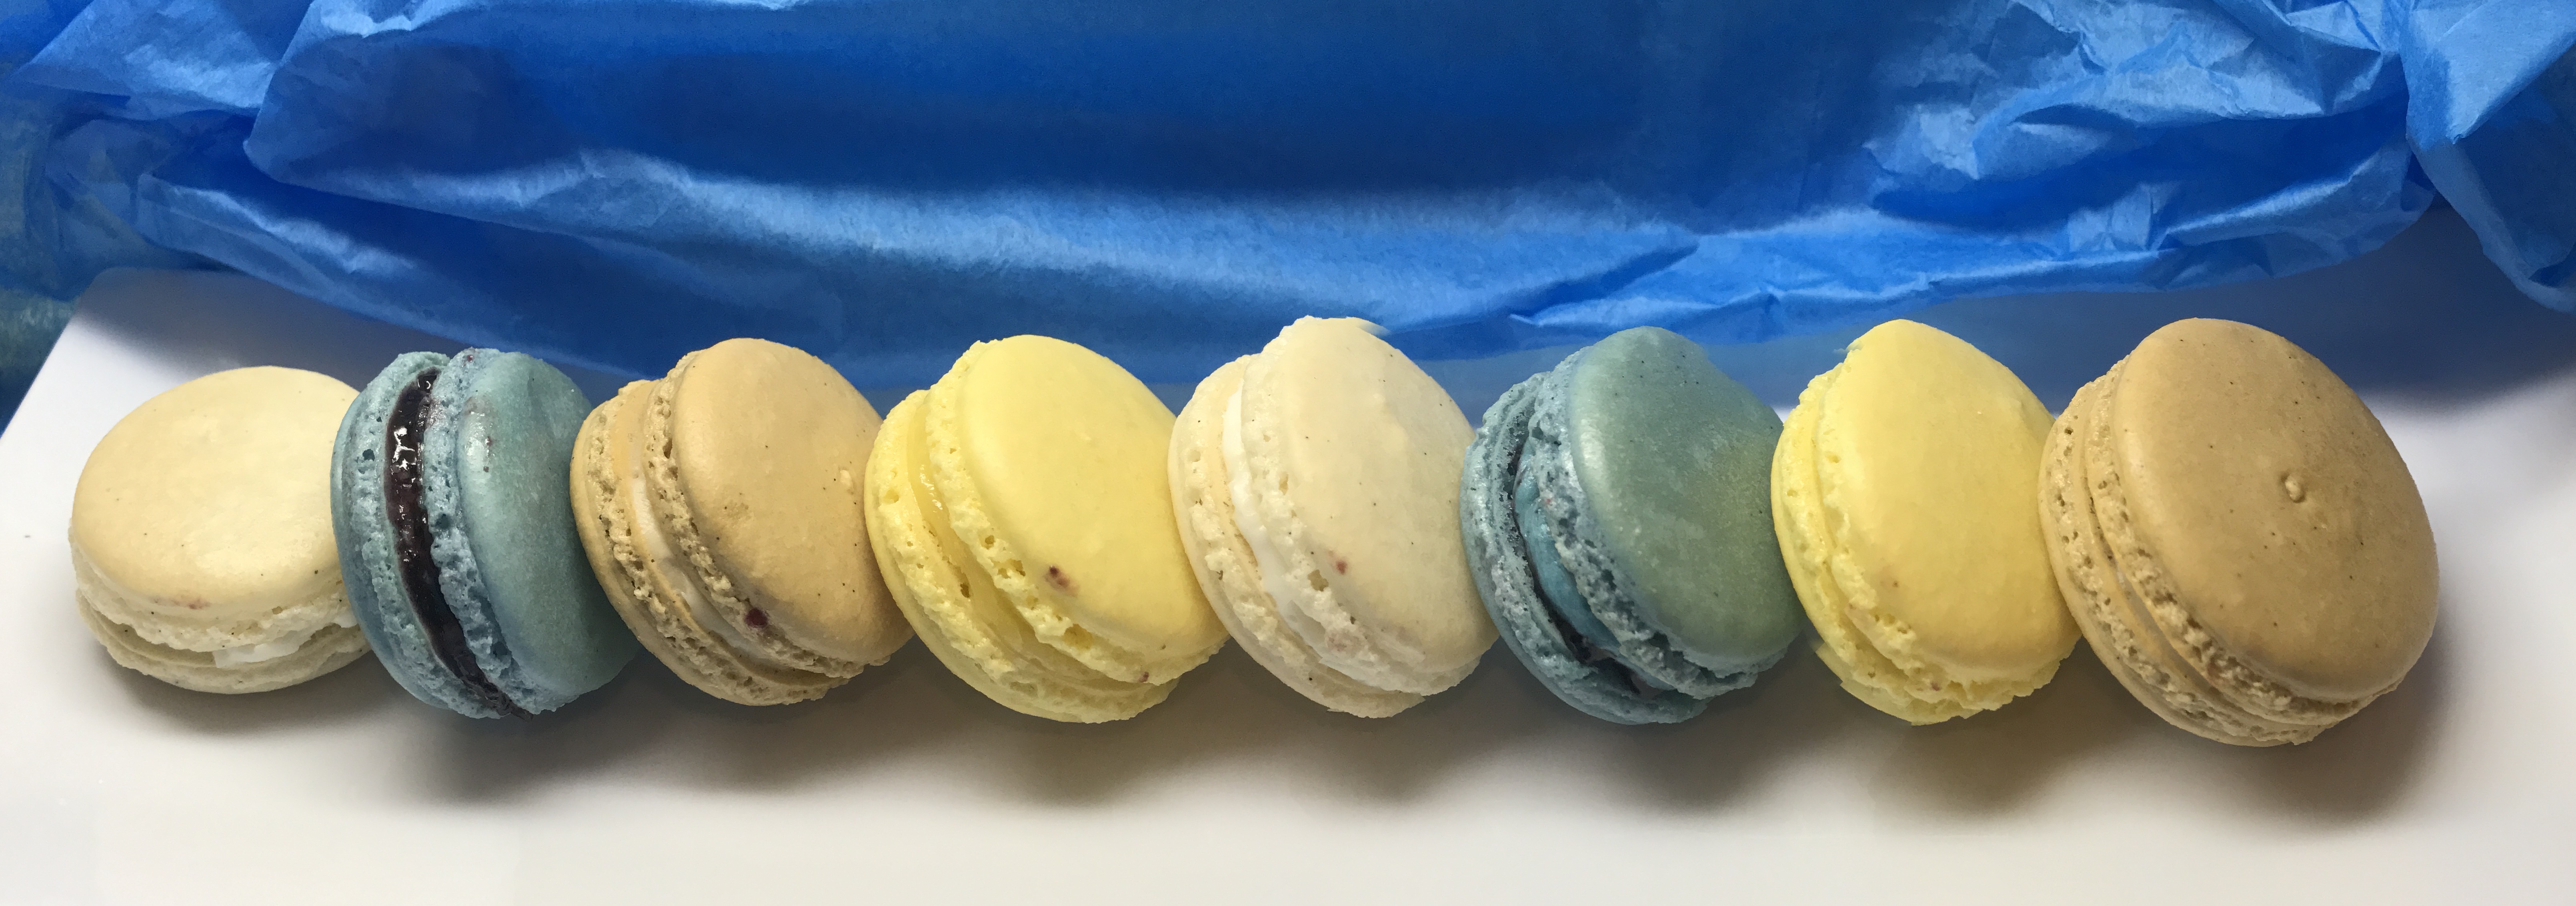
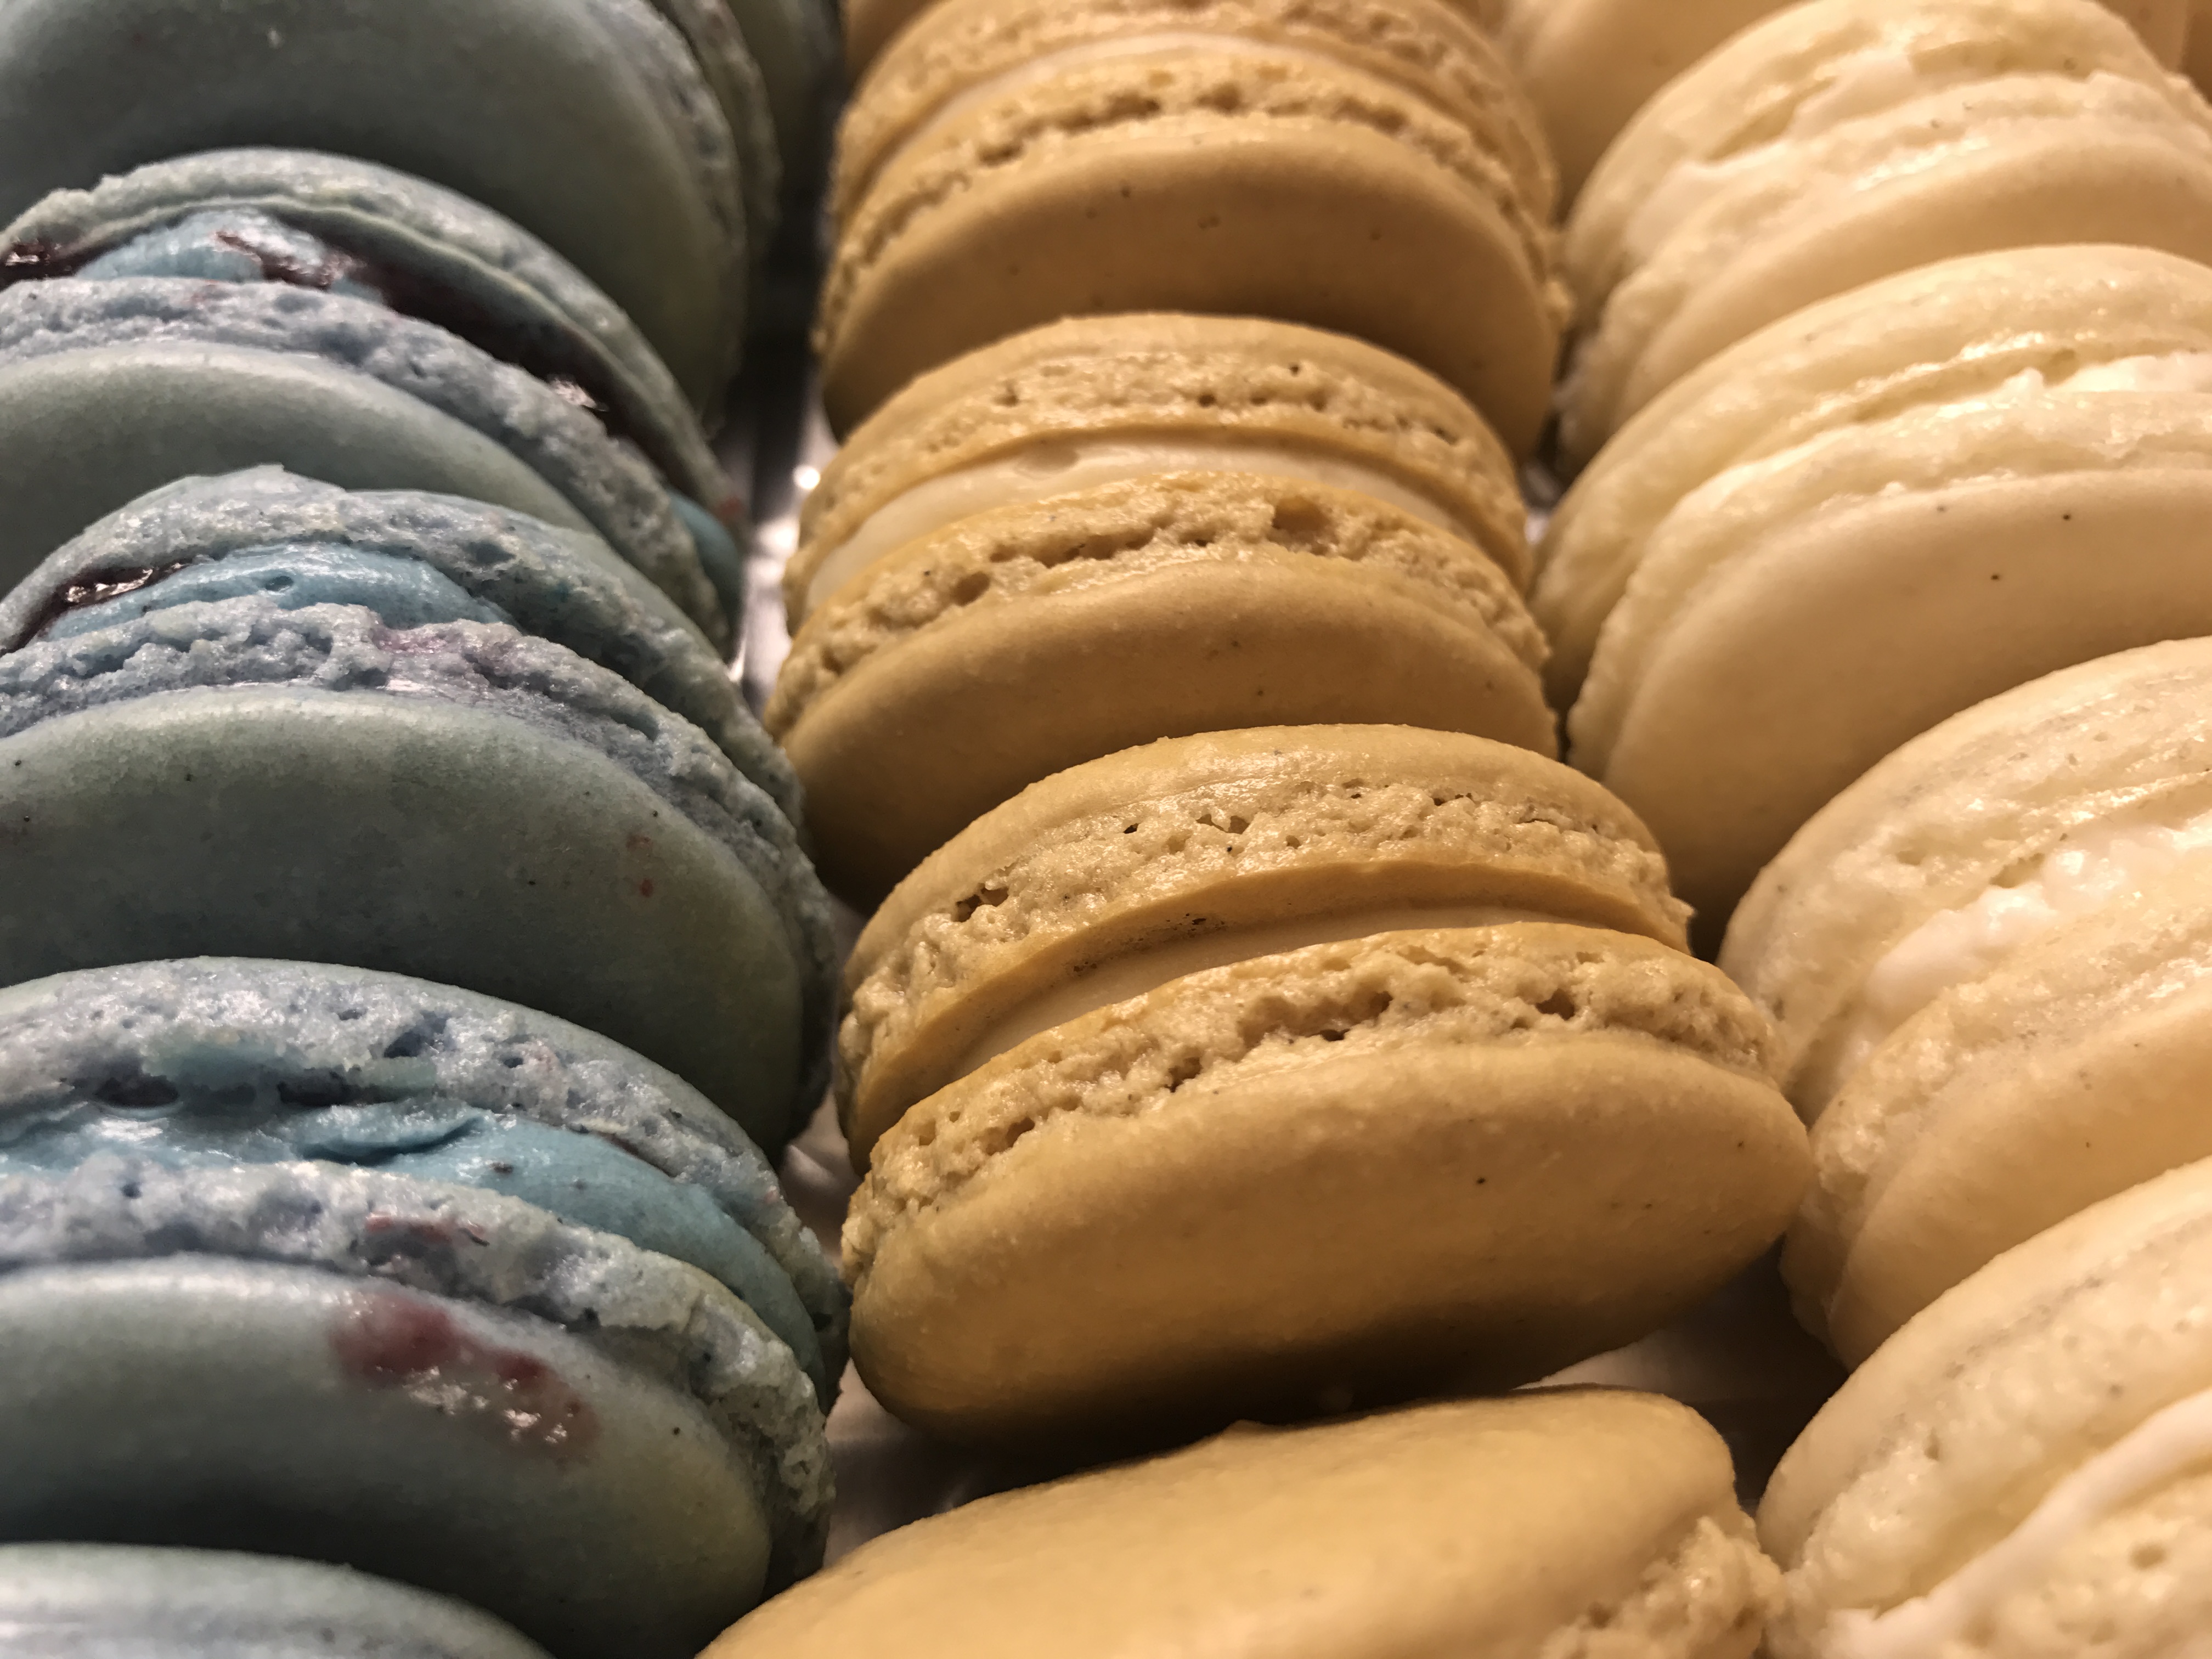
I ♥ Macarons!
I think at this stage it might be an understatement to say I am obsessed with making macarons. Choosing colors and flavor combinations is kind of addicting. They look so elegant and classy and if you figure out how to make them, you no longer have to pay two dollars a piece to enjoy one.
My very first attempt at making them was the exact wrong way to go about it. At my husbands request, I tried to “throw a batch together” one evening after a busy day of baking for the coffee shop I supplied. I had traditionally made birthday treats for people in his office and the birthday girl apparently loved macarons so why not? Not only did they not turn out but it scared me away from trying them again for a long time.
Fast forward almost 3 years…
I had been thinking about them off and on since my last try, then a friend brought us a box as a hostess gift when he came to dinner, and finally I had begun searching for ideas for treats for a sparkly pink bridal shower I am making desserts for on Pinterest, and macarons were featured everywhere. Clearly it was time for me to give it another shot.
First of all I looked at many recipes and read all of the directions and reviews of the ones that I narrowed down. It is funny that some people give 5 stars to a recipe and then go on to tell you how they changed it. Since these are notoriously very difficult to make I went only with recipes that used grams for every ingredient. I am very attached to my kitchen scale so this was very reassuring. Since I have had a bakery I was not concerned about equipment but I will share with you ingredients and equipment that you will need.
Ingredients
- Almond meal/flour (I got Bob’s Red Mill brand at the grocery store and paid 11.99 for one pound OUCH! I then thought to check Trader Joes and found their brand for 7.49 for one pound, MUCH BETTER 🙂 .
- Egg whites (I just used whites from regular grocery store brand white eggs). The whites should be at room temperature and some blogs even say they age them for 24 hours. I used them at room temperature and at 24 hours and didn’t feel that one turned out better than the other. You definitely want to separate the yolks from the whites while they are cold and refrigerate the yolks for something else like maybe lemon curd. When weighing these you often need part of an egg white to reach the target weight which is exactly why I like weighing them, because eggs differ in size so much.
- Granulated sugar You need just a little of this, it is added to the egg whites while they are whipping. I like to grind my sugar up in the food processor so that it is very fine and also either scrape some vanilla from a few vanilla beans or zest from lemons, oranges or limes and grind it up with the sugar. I usually grind up a cup or more at a time of each kind and keep it for the next time I need it. You can use flavored sugar in other recipes especially whipped cream 🙂 .
- Powdered Sugar not much to add to this ingredient except that after you measure out the almond flour/meal and the powdered sugar you will toss them in the food processor and give them a few whirls just to combine them well. You will also want to have a mesh sieve to put the powdered sugar/almond flour mixture through just to make sure there are no lumps.
- Cream of tarter (optional) I used an 1/4 of a teaspoon the first time I made them and just realized as I was typing this that I forgot to add it the second time making them. Although I don’t think I really noticed a difference I would add it if I have it and remember just because it is something I always add when whipping eggs in any recipe.
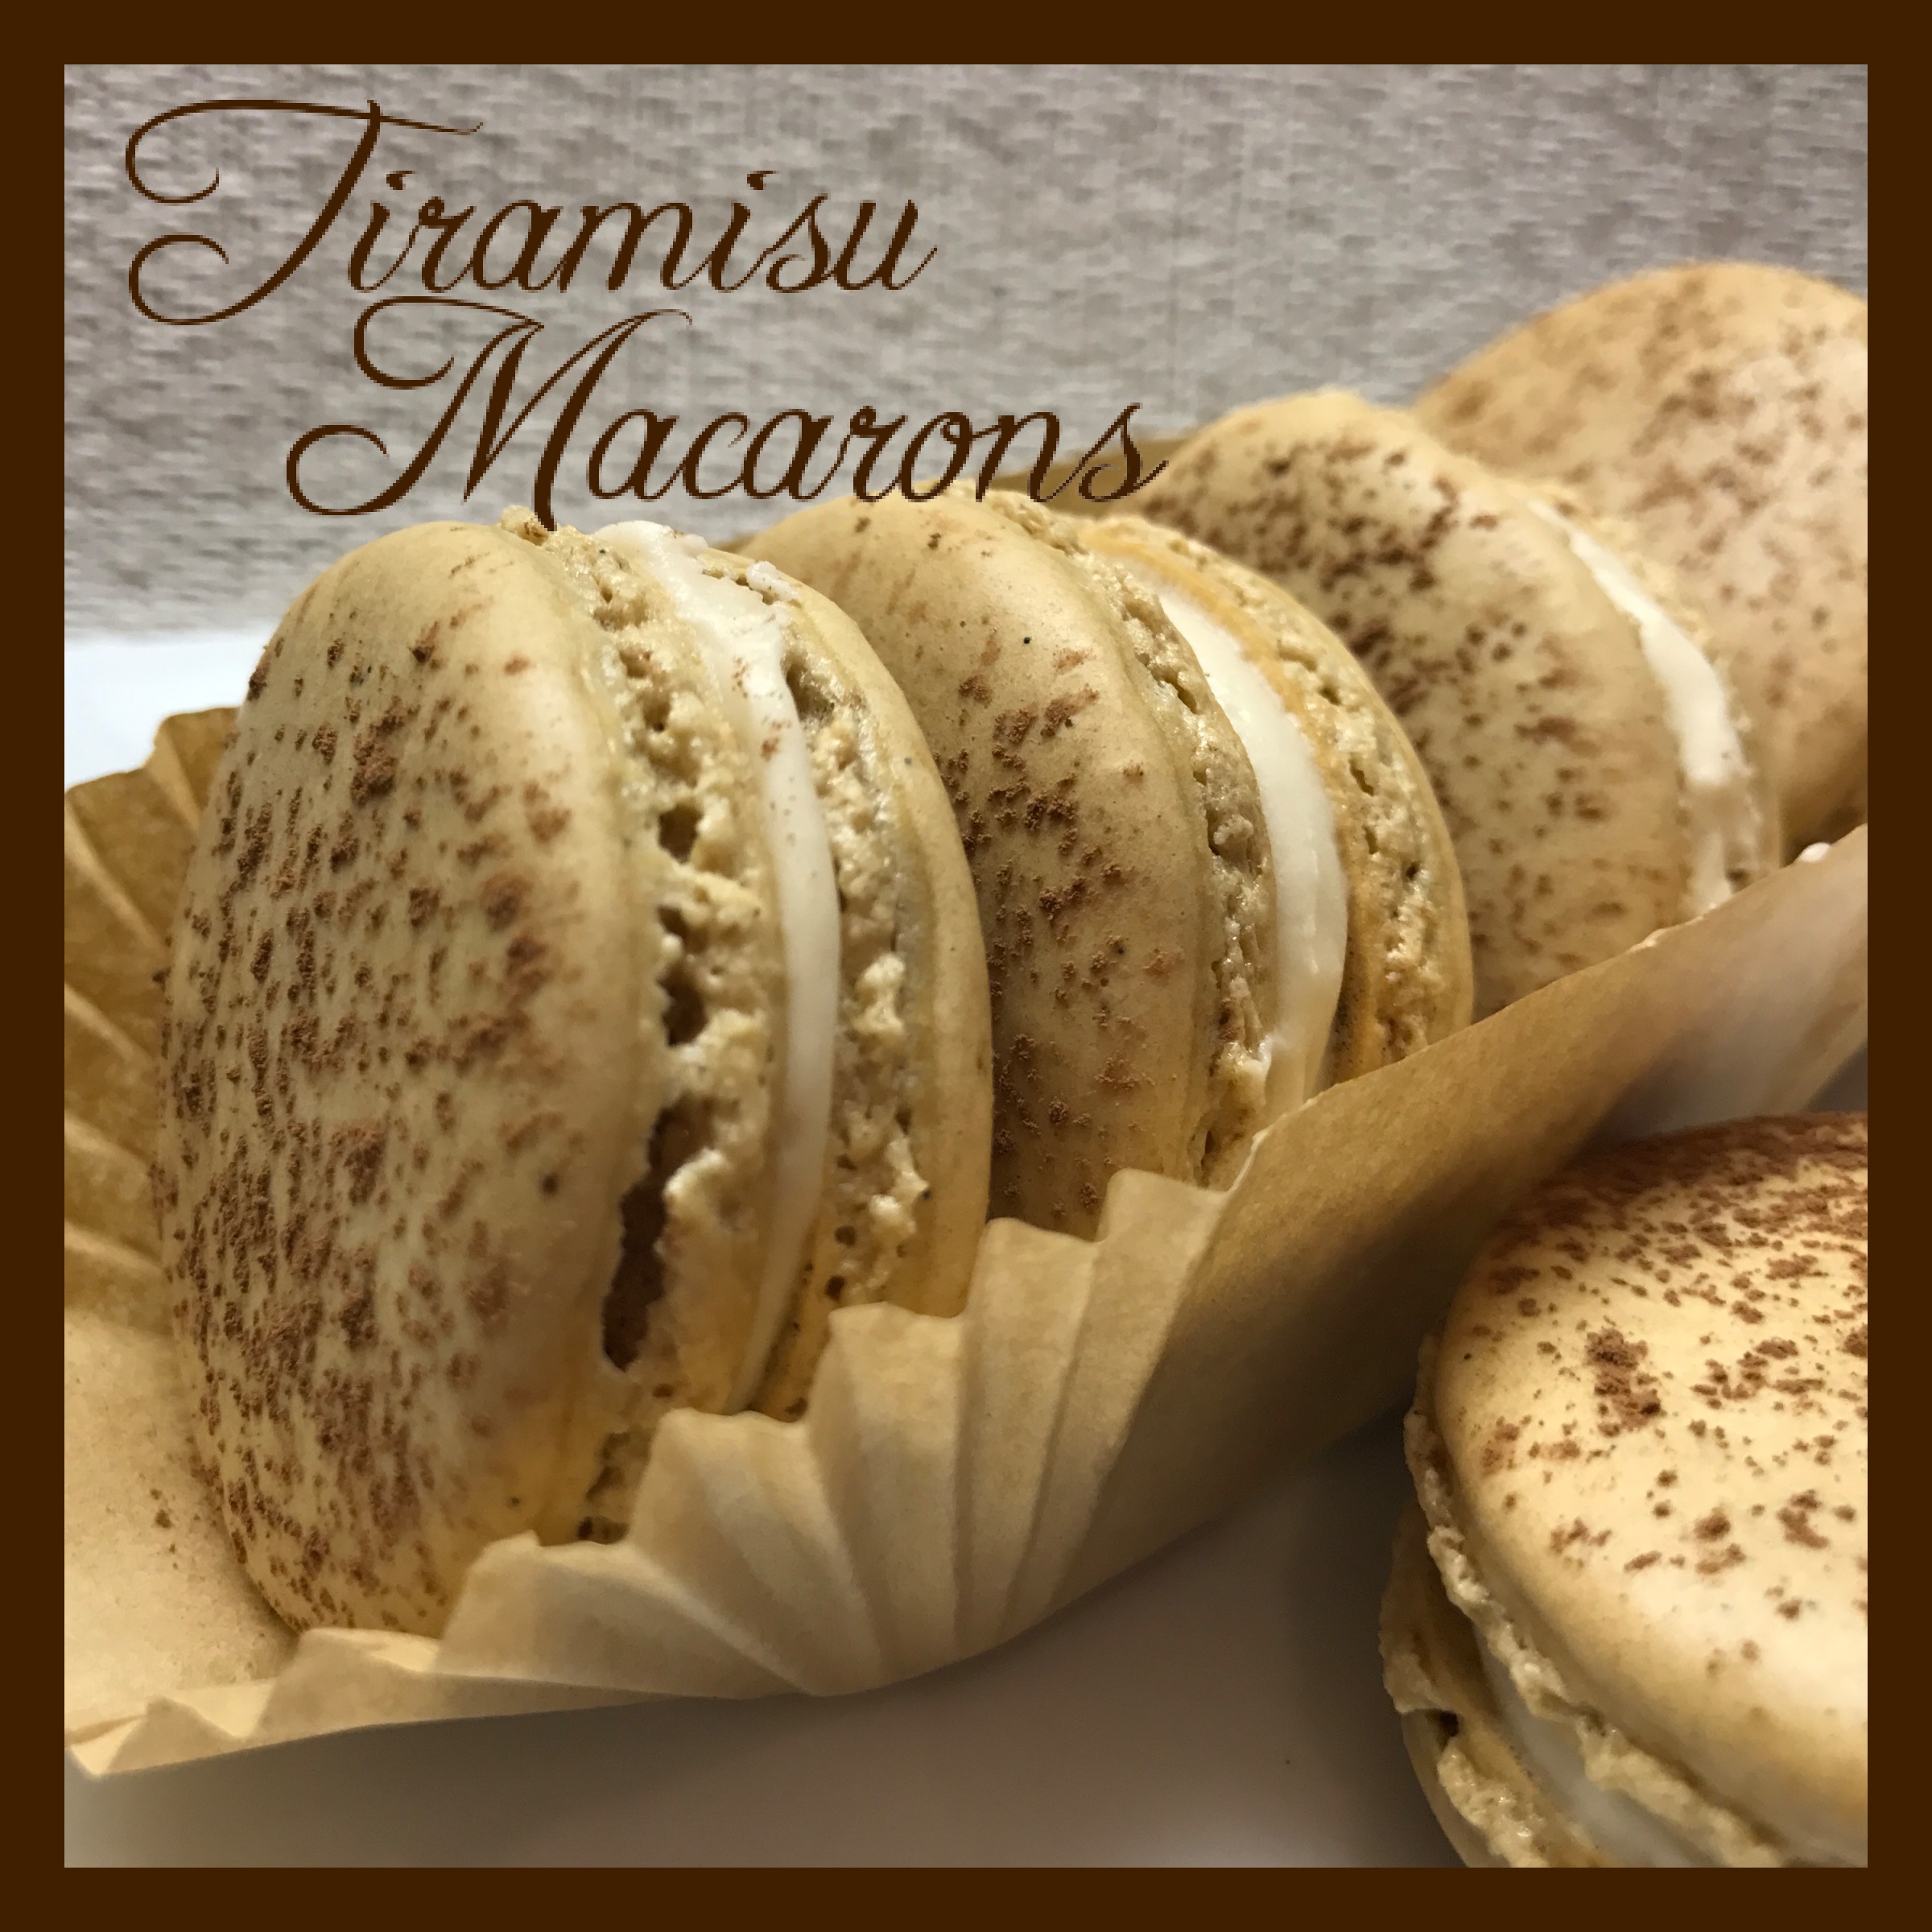
- Food coloring/extracts or flavors I am still experimenting with these things as I don’t want to add a large amount of extract and then liquid coloring as I am afraid what it might do to the batter. As I said, I often flavor the sugar with zest or vanilla, I have also added instant espresso to the sugar. Certainly a small amount of extract would probably not hurt. Often times, the flavor comes in the filling so don’t feel too pressured to get a strong flavored macaron. I plan to try some powdered food coloring that I found at the cake supply store that is used for coloring fondant and is produces more intense colors.
Equipment
- A heavy cookie pan
- Digital kitchen scale You can certainly find a recipe online if you search that will give you a list of ingredients measured in cups or specific number of eggs but if you want to make the recipe I am sharing you will need a scale.
- Parchment paper or silicone liners I personally have never had any luck with silicone anything so I am parchment paper all the way. I have the liners because I thought I needed them but always use parchment paper. I traced circles that are about 1 3/4 inches on two pieces of parchment that are cut to the size of the pan. I lay these on the bottom of the pan and lay a fresh piece of parchment over the top of the paper with circles and I can see the circles through the paper but I can use the circle paper over and over again and there is no transfer of color from the pen that you used to draw the circles.

- Food Processor Although you may be able to make these without a food processor, I have not tried it. I used it to grind up my sugar and zest or vanilla and I use it to blend and gently break up my almond flour/powdered sugar mix. I already had a food processor so it was not an issue for me
- Hand Mixer I way prefer using my KitchenAid but the small amount of egg whites makes it harder to use the big mixer, making the hand mixer the best fit.
- Spatula A good spatula is necessary to fold everything together.
- Metal mesh sieve As I add the powdered sugar/almond flour mixture to the whipped eggs, I push it through the sieve in about three batches so I am sure that there are no lumps and they mix smoothly.
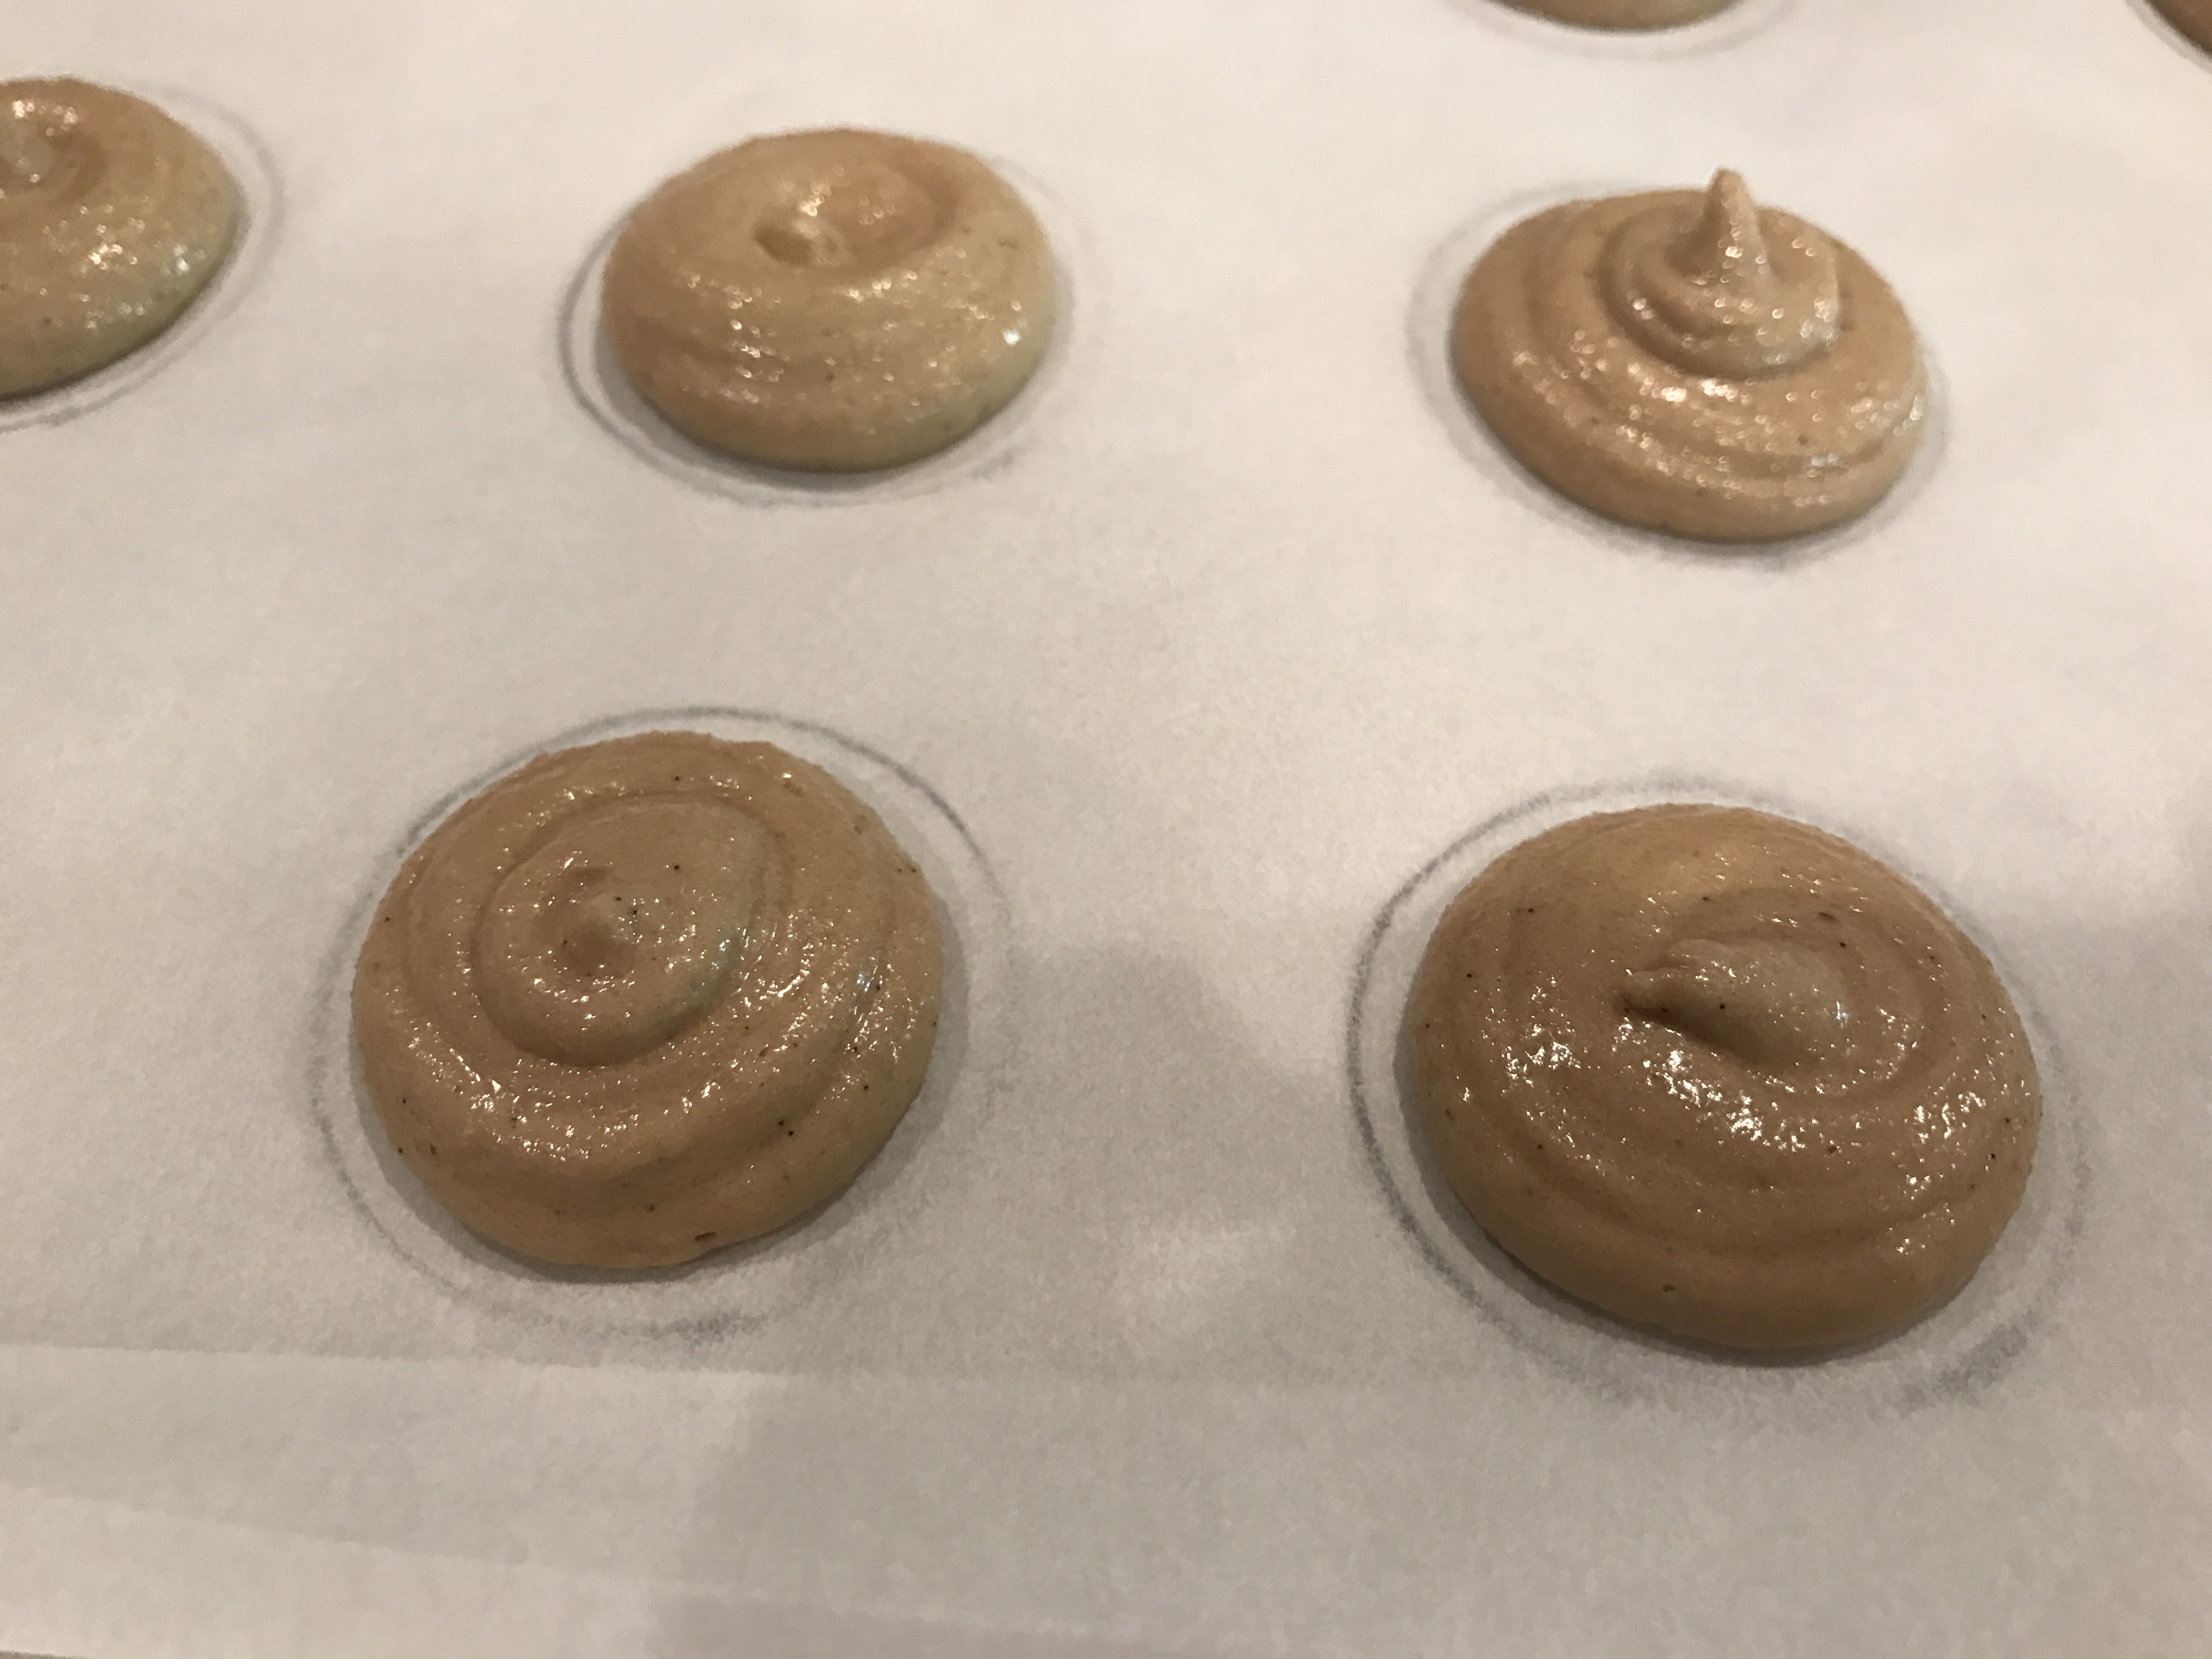
- Pastry bag and an open circle tip These are the best way to get a nicely shaped macaron. You will fill the bag with the batter and then hold the bag above the circle on the parchment paper and apply pressure to the bag until you have a circle that is a little bit smaller than the one drawn on the parchment paper. Once you have all of the circles filled, you will be smacking the pan on a hard surface a few times until they spread out and fill the circle and any air bubbles have made their way to the surface. The first ones that I made were pink and I did not realize that all spreading happened during the smacking of the pan process and not in the oven so unfortunately most of my first batch retained the little tip that is there when you pull the pastry bag away and they looked like something that you might serve during breast cancer awareness week.
Other tips
- I weighed all ingredients into small containers well in advance of beginning to put the cookies together. It gave me the opportunity to just concentrate on doing exactly what the recipe said without having to take time to measure things as I went. I also loved having a little cleaner work space to deal with. When you get all of the measuring and preparing done the rest is a piece of cake.
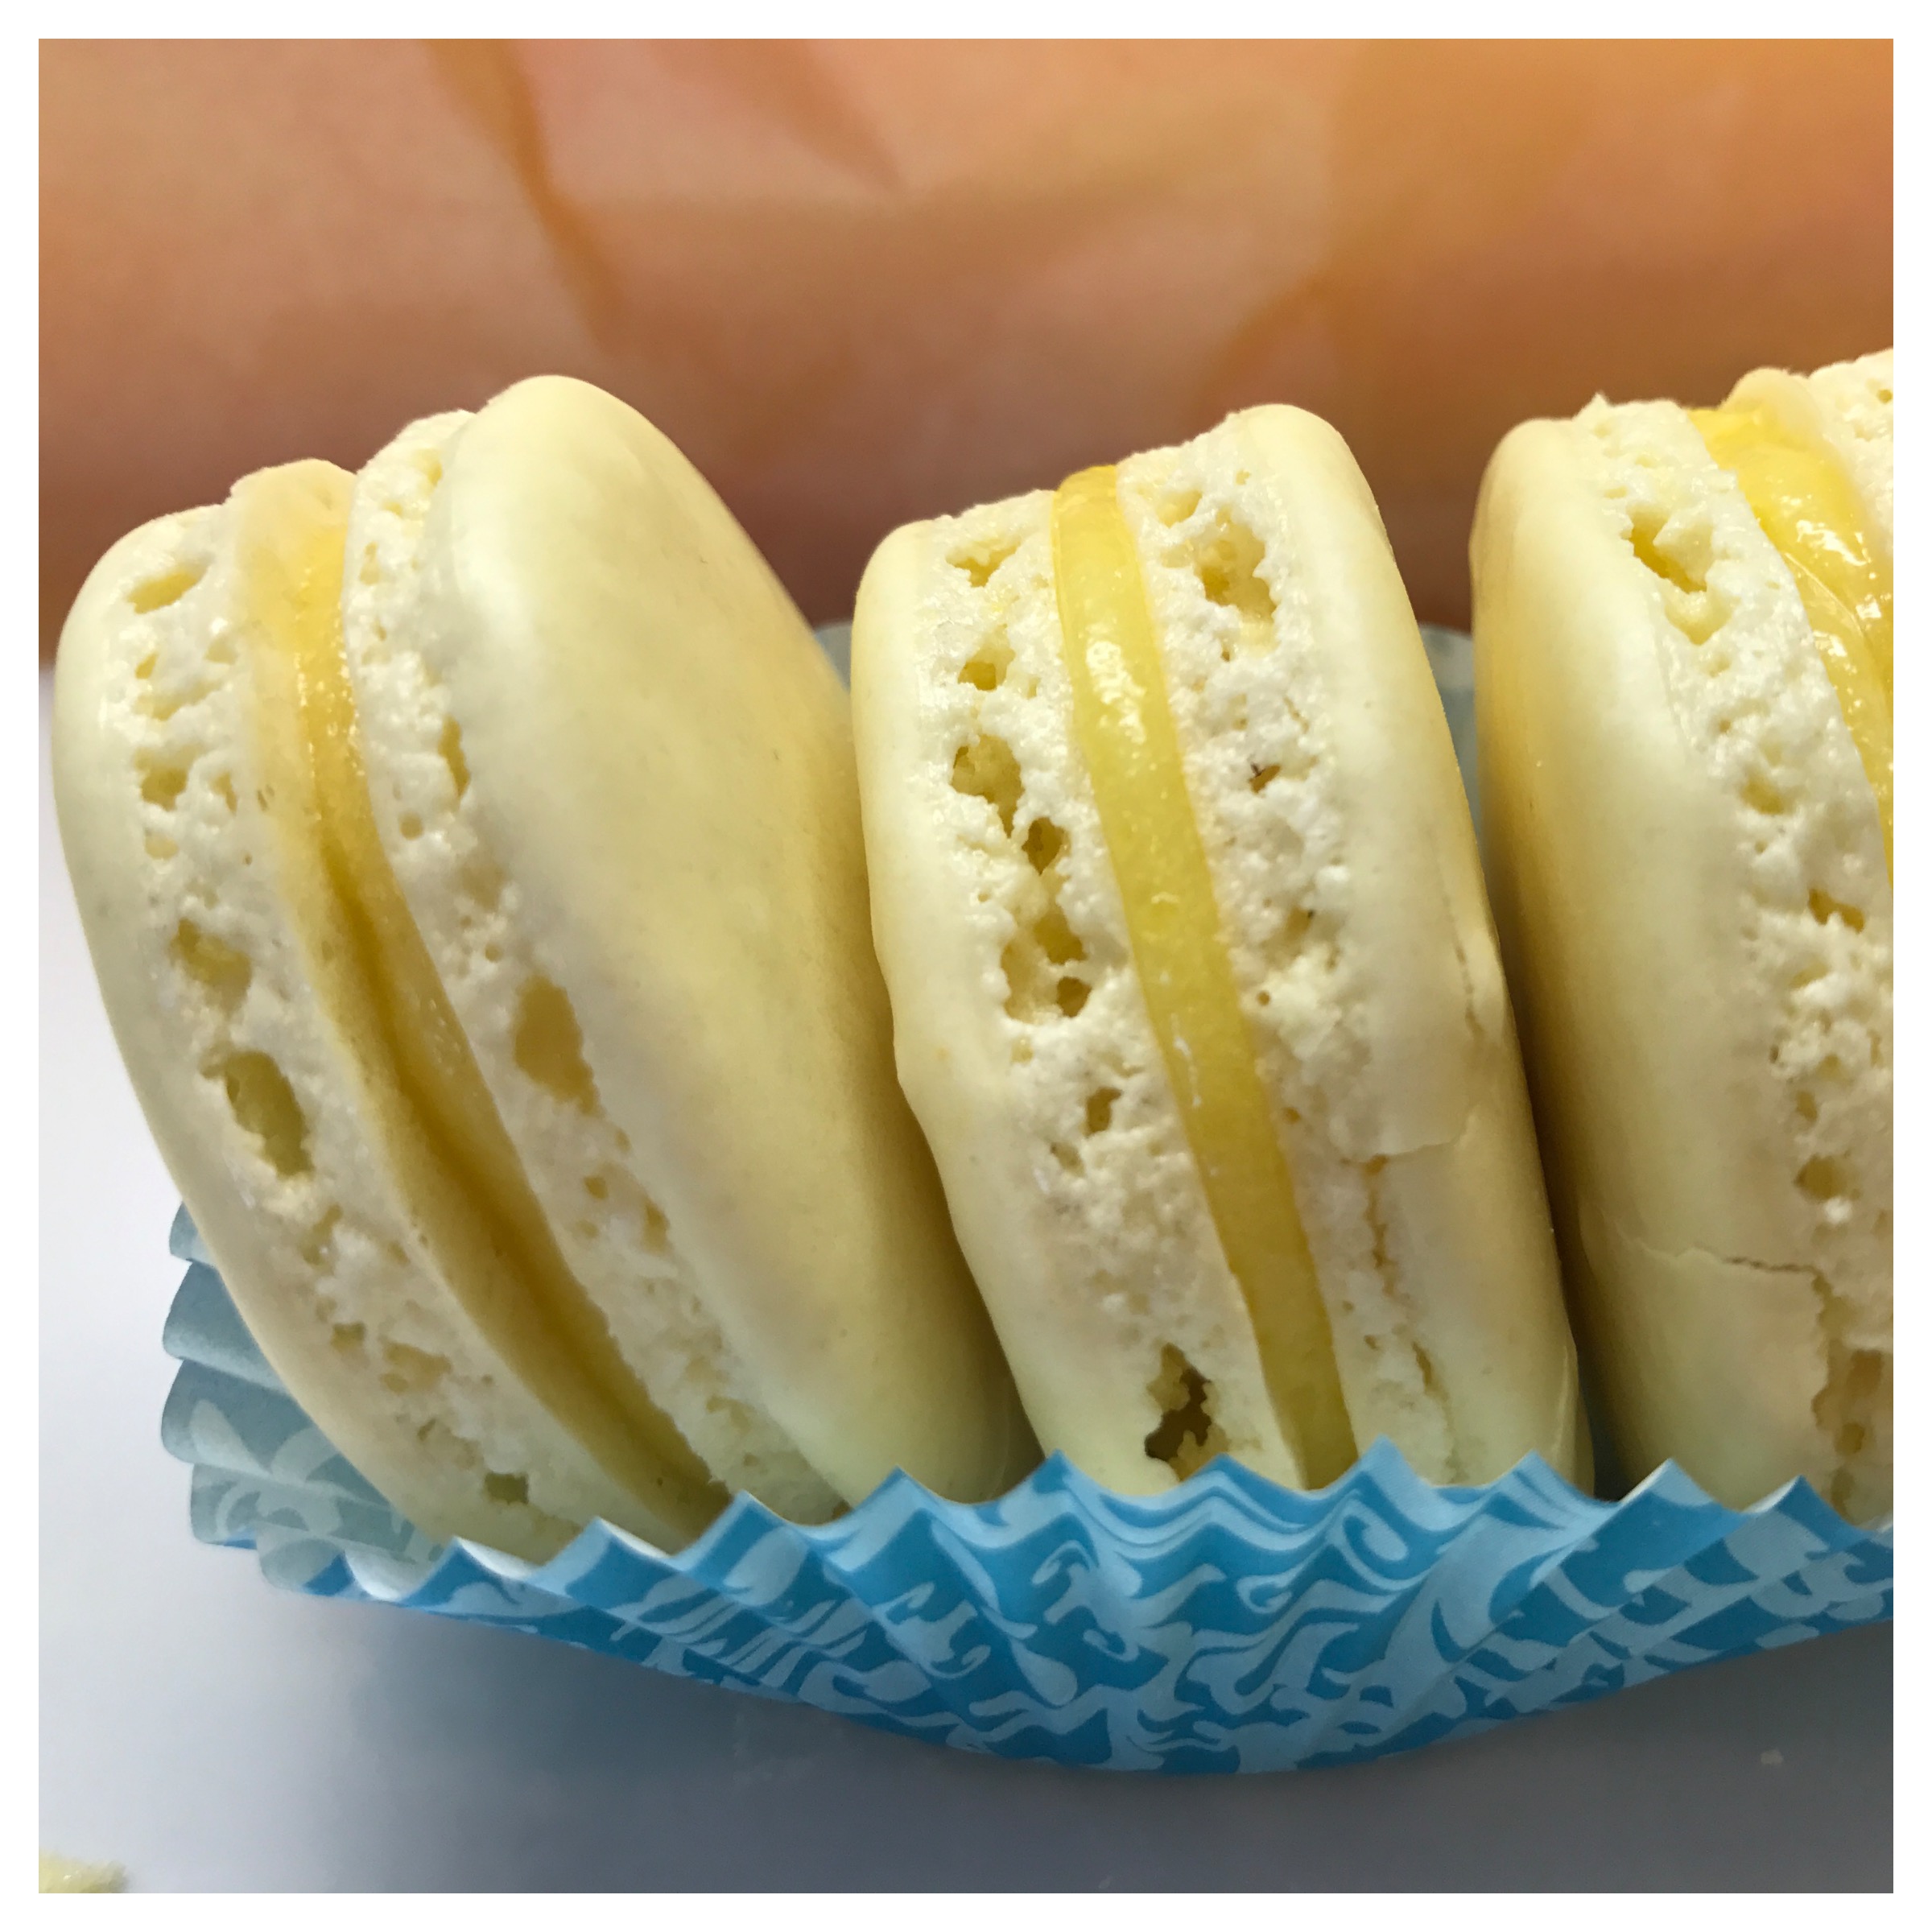
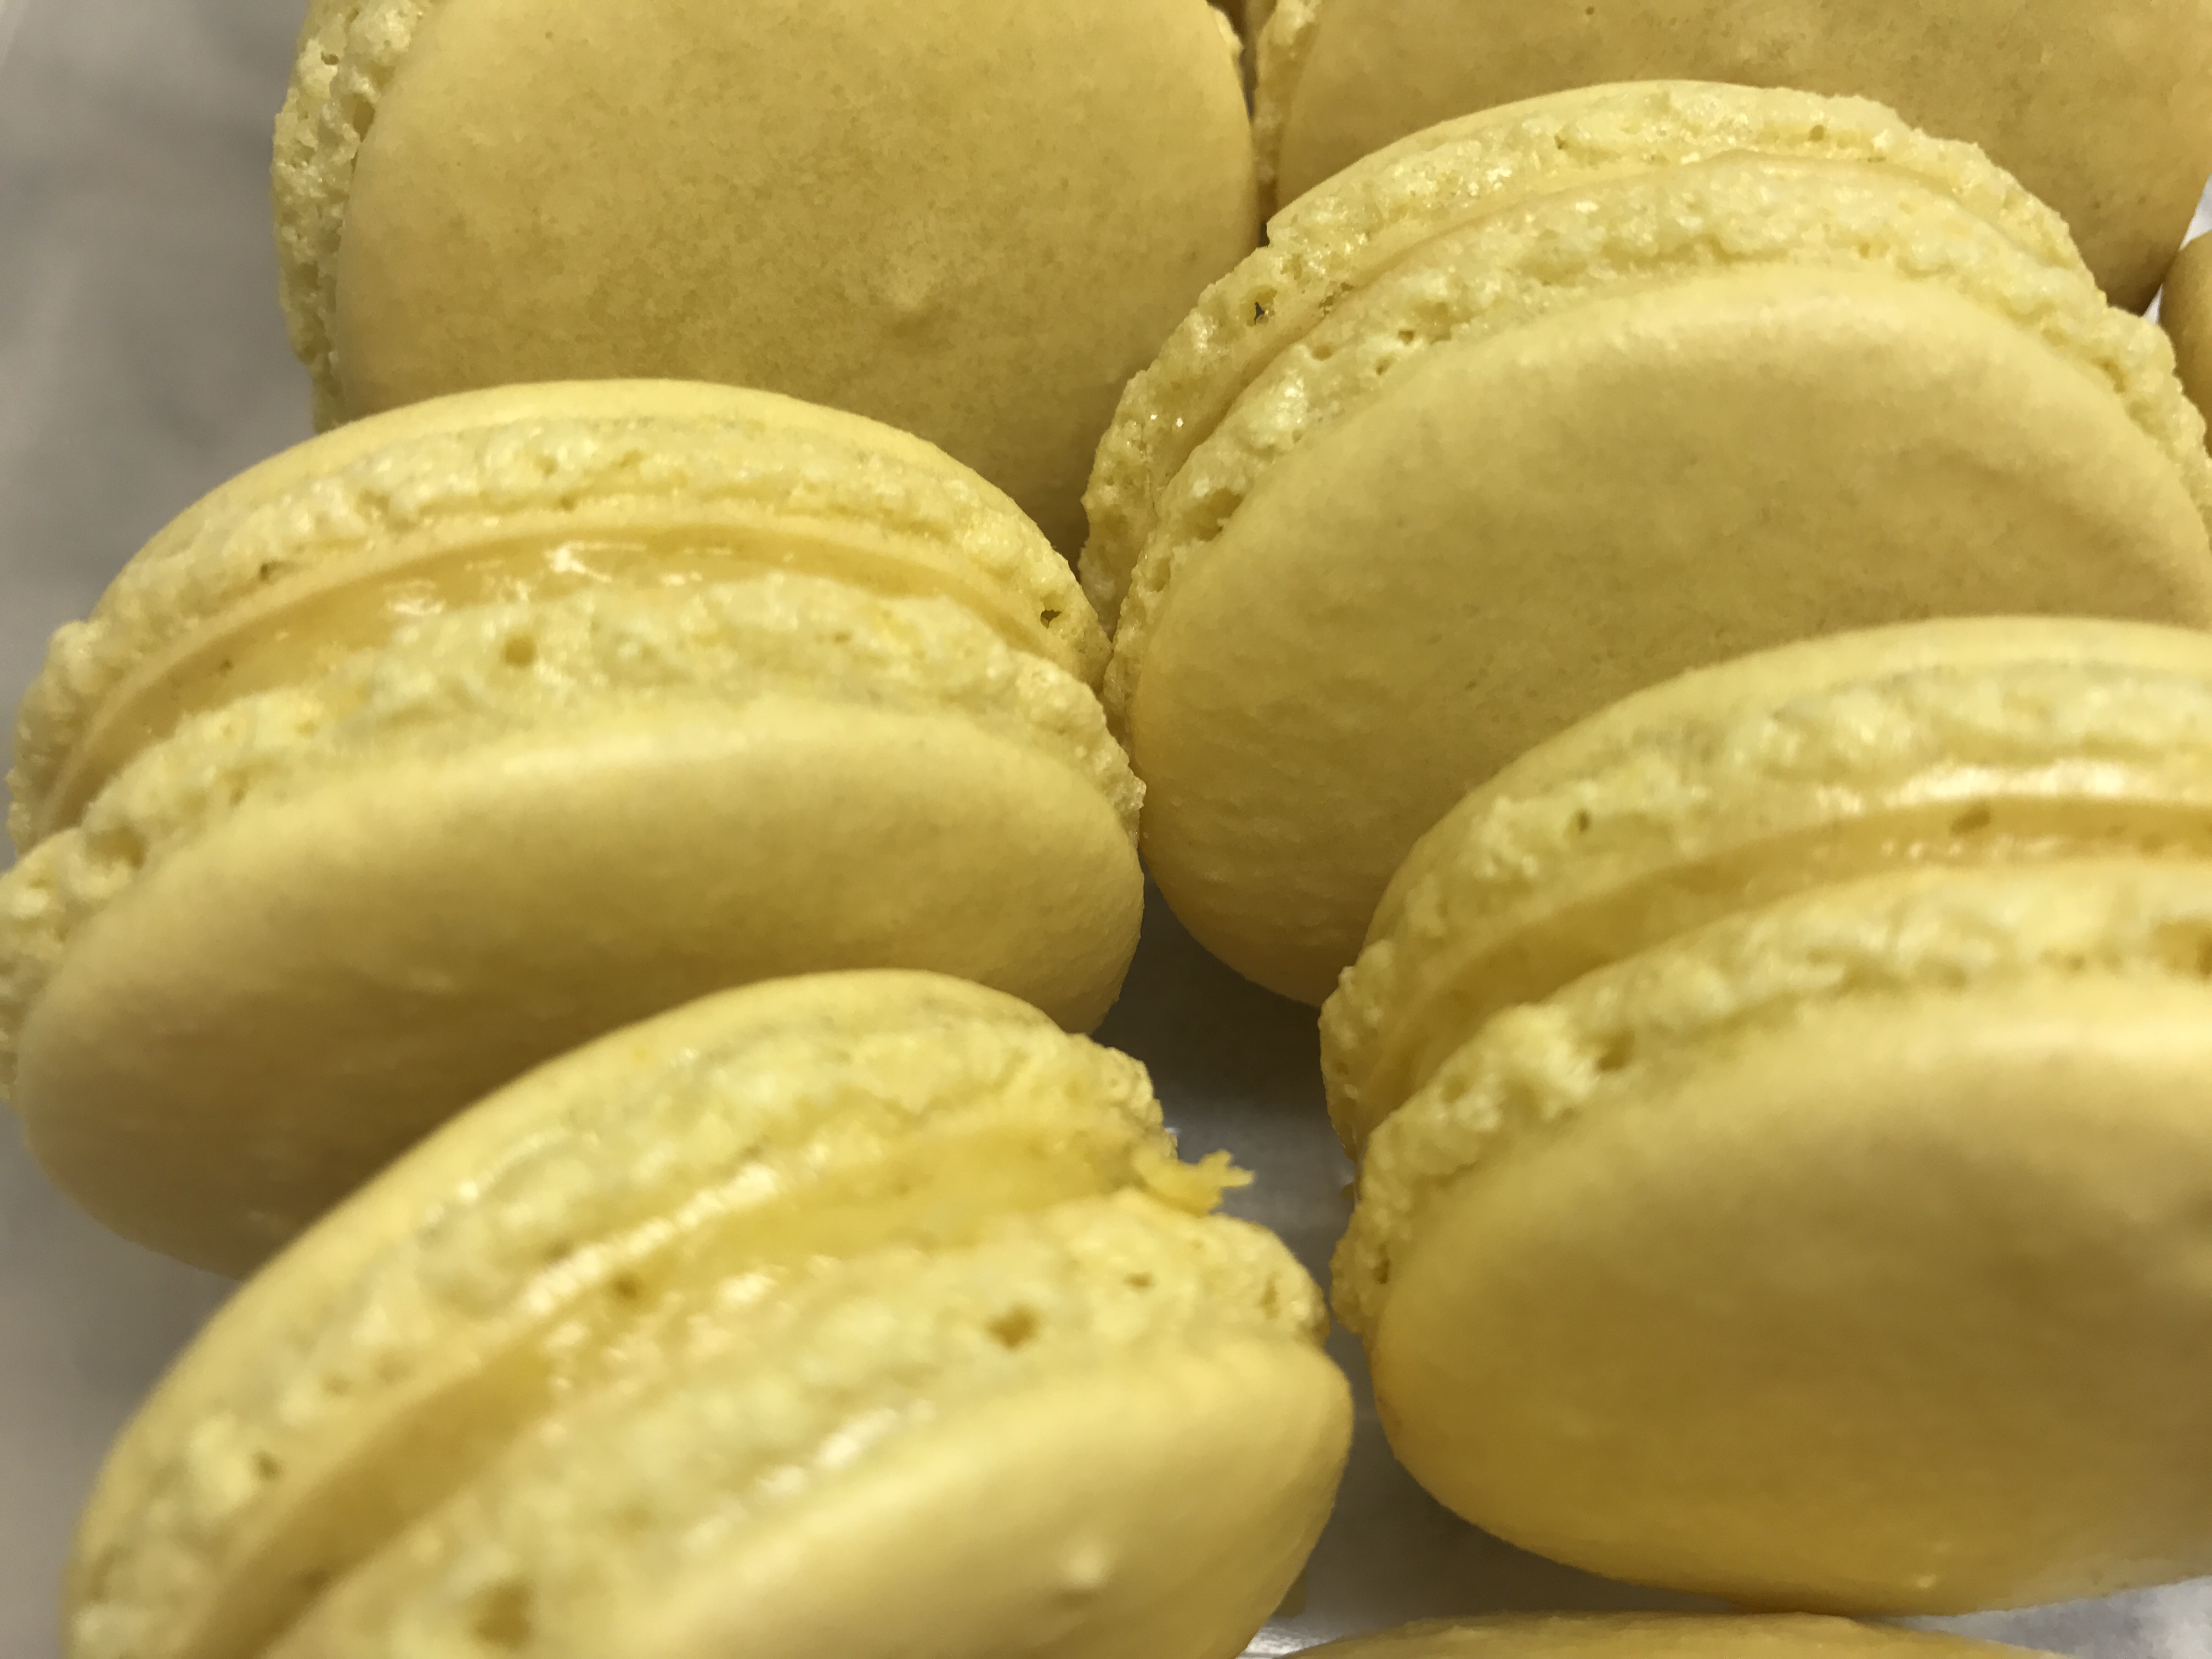
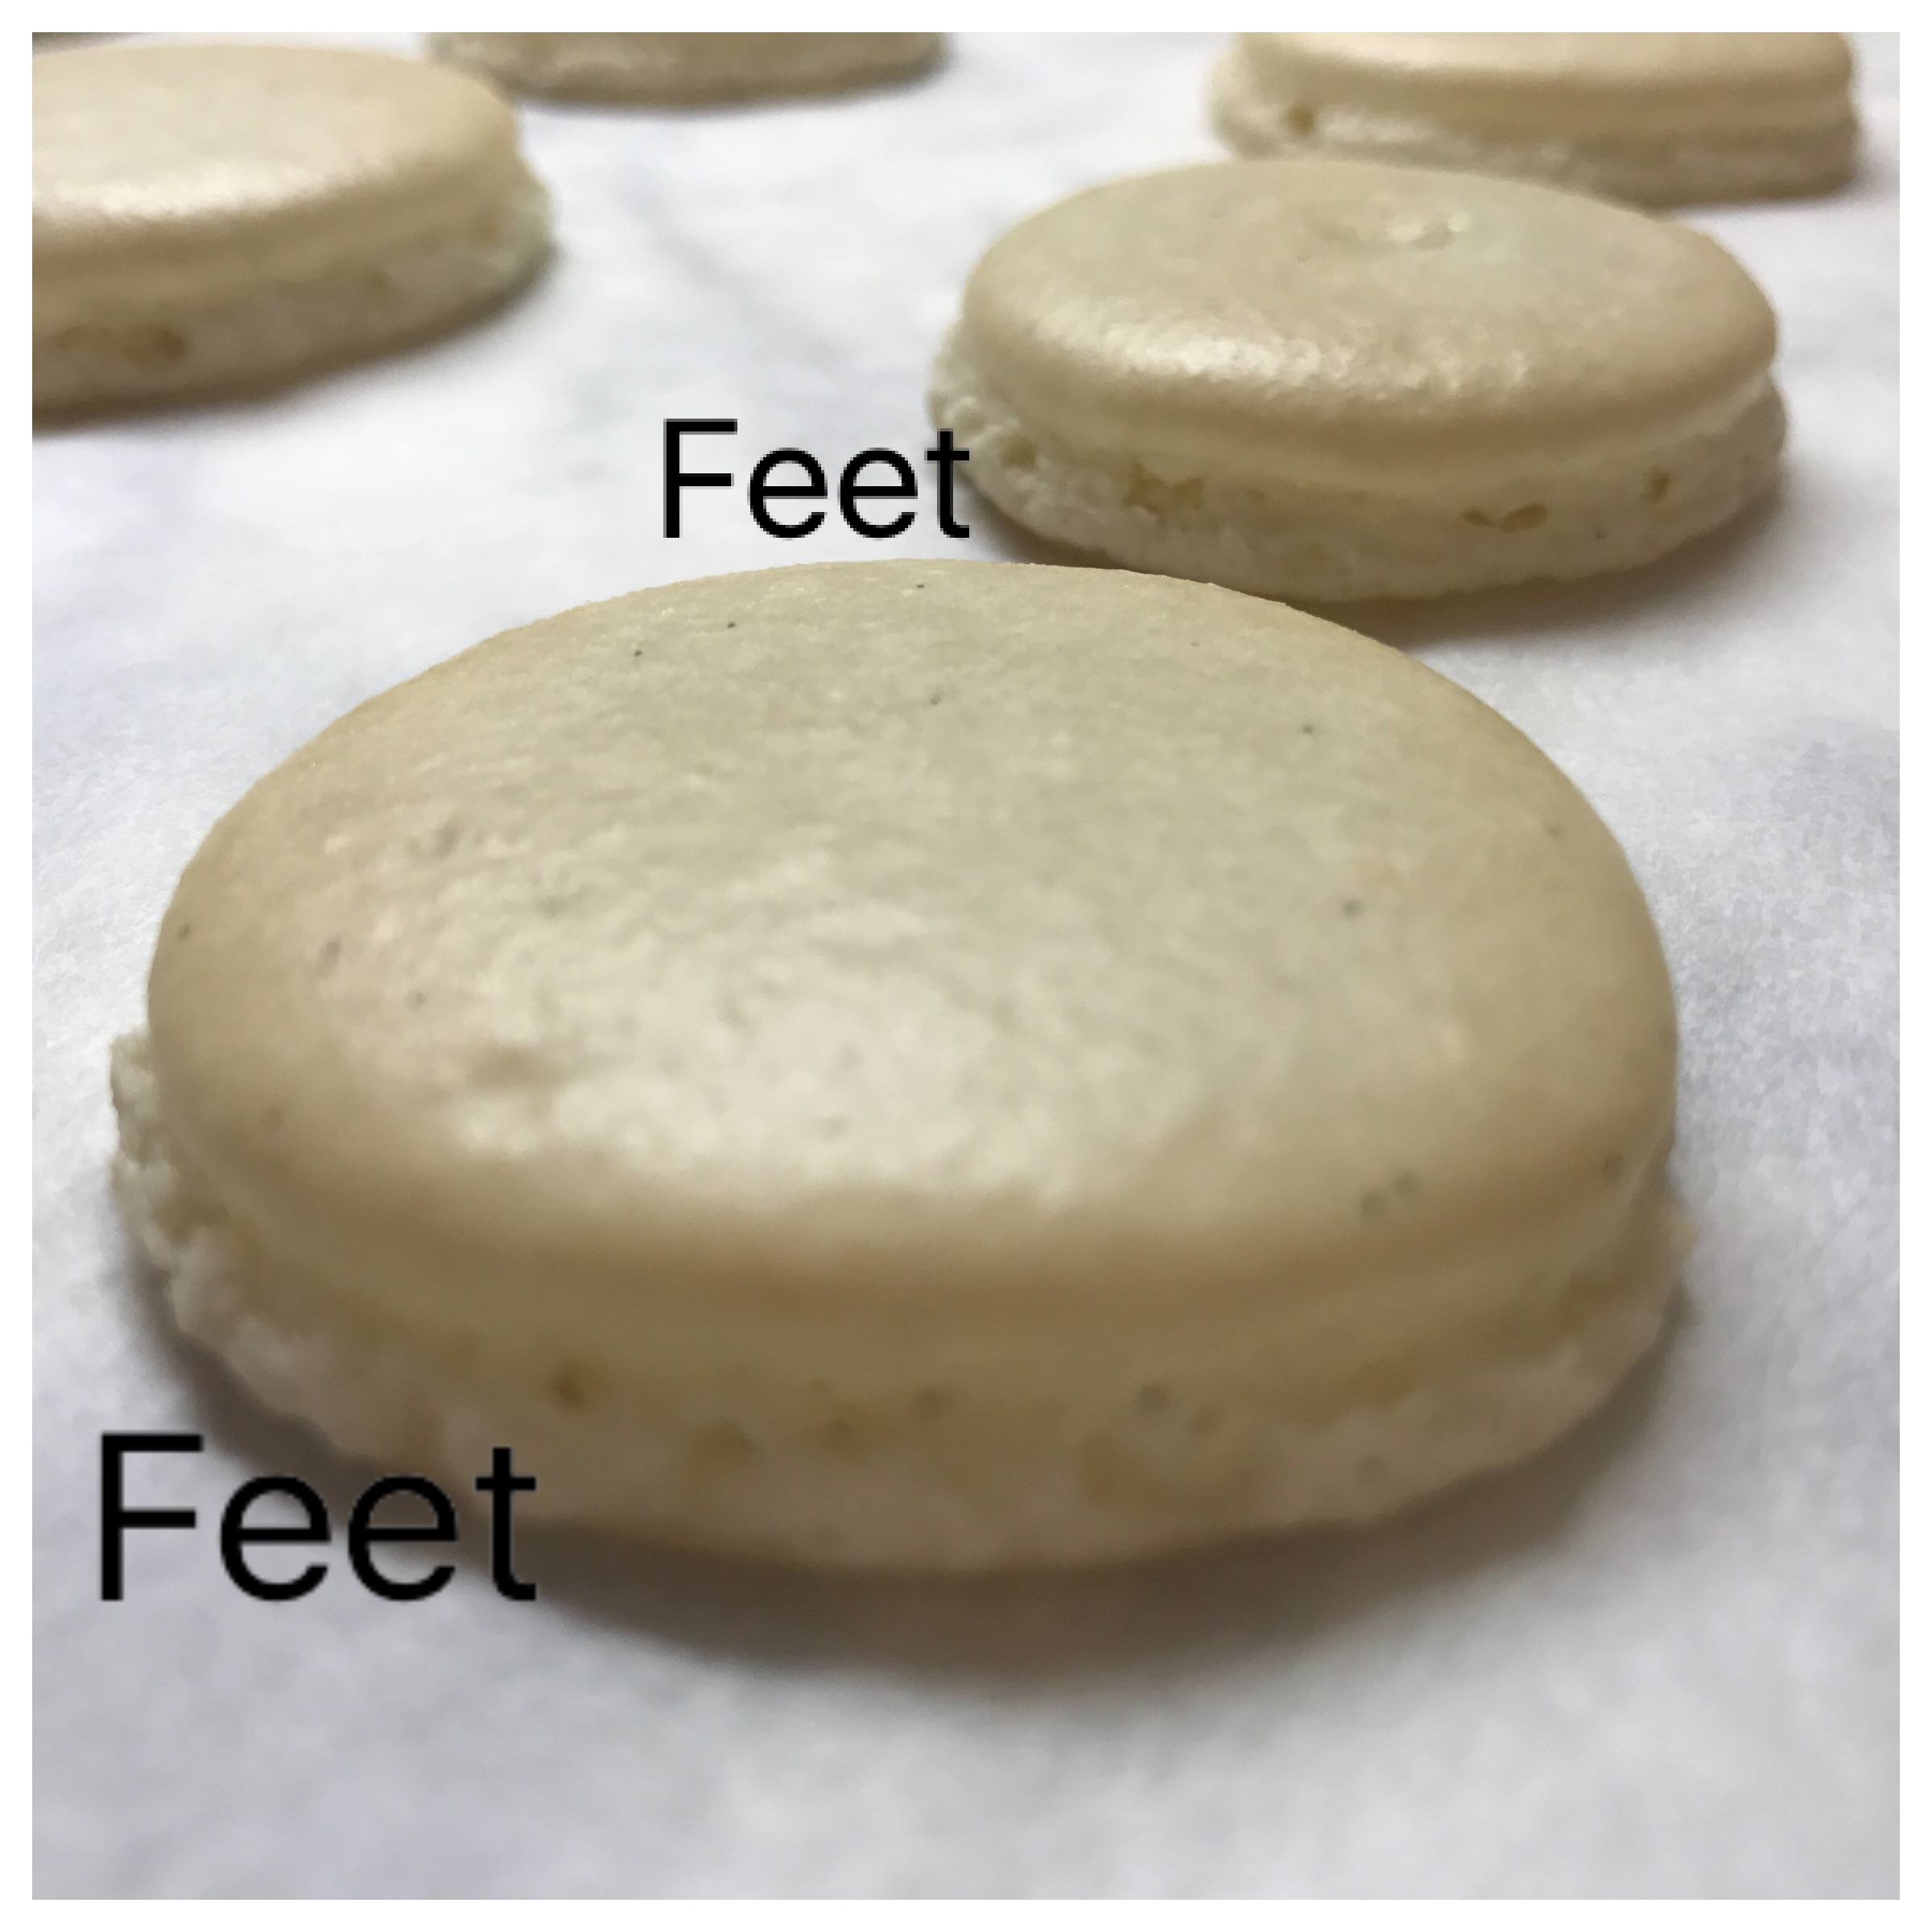
- What you are looking for when you bake the macarons is “feet” which will appear at about 9 or 10 minutes into the baking process. They are the bottom part of the cookie that rises and has that signature look. Feet are an essential part of the success of the cookies.
Macarons
Ingredients
- 120g almond flour
- 200g powdered sugar
- 100g egg whites (room temperature)
- 32g granulated sugar (finely ground)
- 1/4 tsp cream of tarter (optional)
- food coloring and flavoring
Instructions
- Line two baking sheets with nicely fitted parchment paper with twenty 1 3/4 inch circles drawn on each sheet.
- Cover each of the sheets with fresh sheets of parchment.
- Prepare a pastry bag with a round tip.
- Preheat oven to 290 degrees.
- Combine the Almond flour and powdered sugar in a food processor until combined.
- Beat egg whites and cream of tarter until foamy.
- Slowly add the granulated sugar and continue beating until it is glossy and has stiff peaks.
- Using a mesh sieve, sift about one third of the dry mixture into the whipped egg whites.
- Fold the dry mixture into the whipped mixture.
- Repeat sifting of another third of the dry mixture into the whipped mixture and fold in again.
- Repeat one last time, making sure all dry ingredients are combined but not over mixed.
- Spoon the mixture into the pastry bag and then hold the pastry bag over each of the circles and apply pressure until the circles are each almost full.
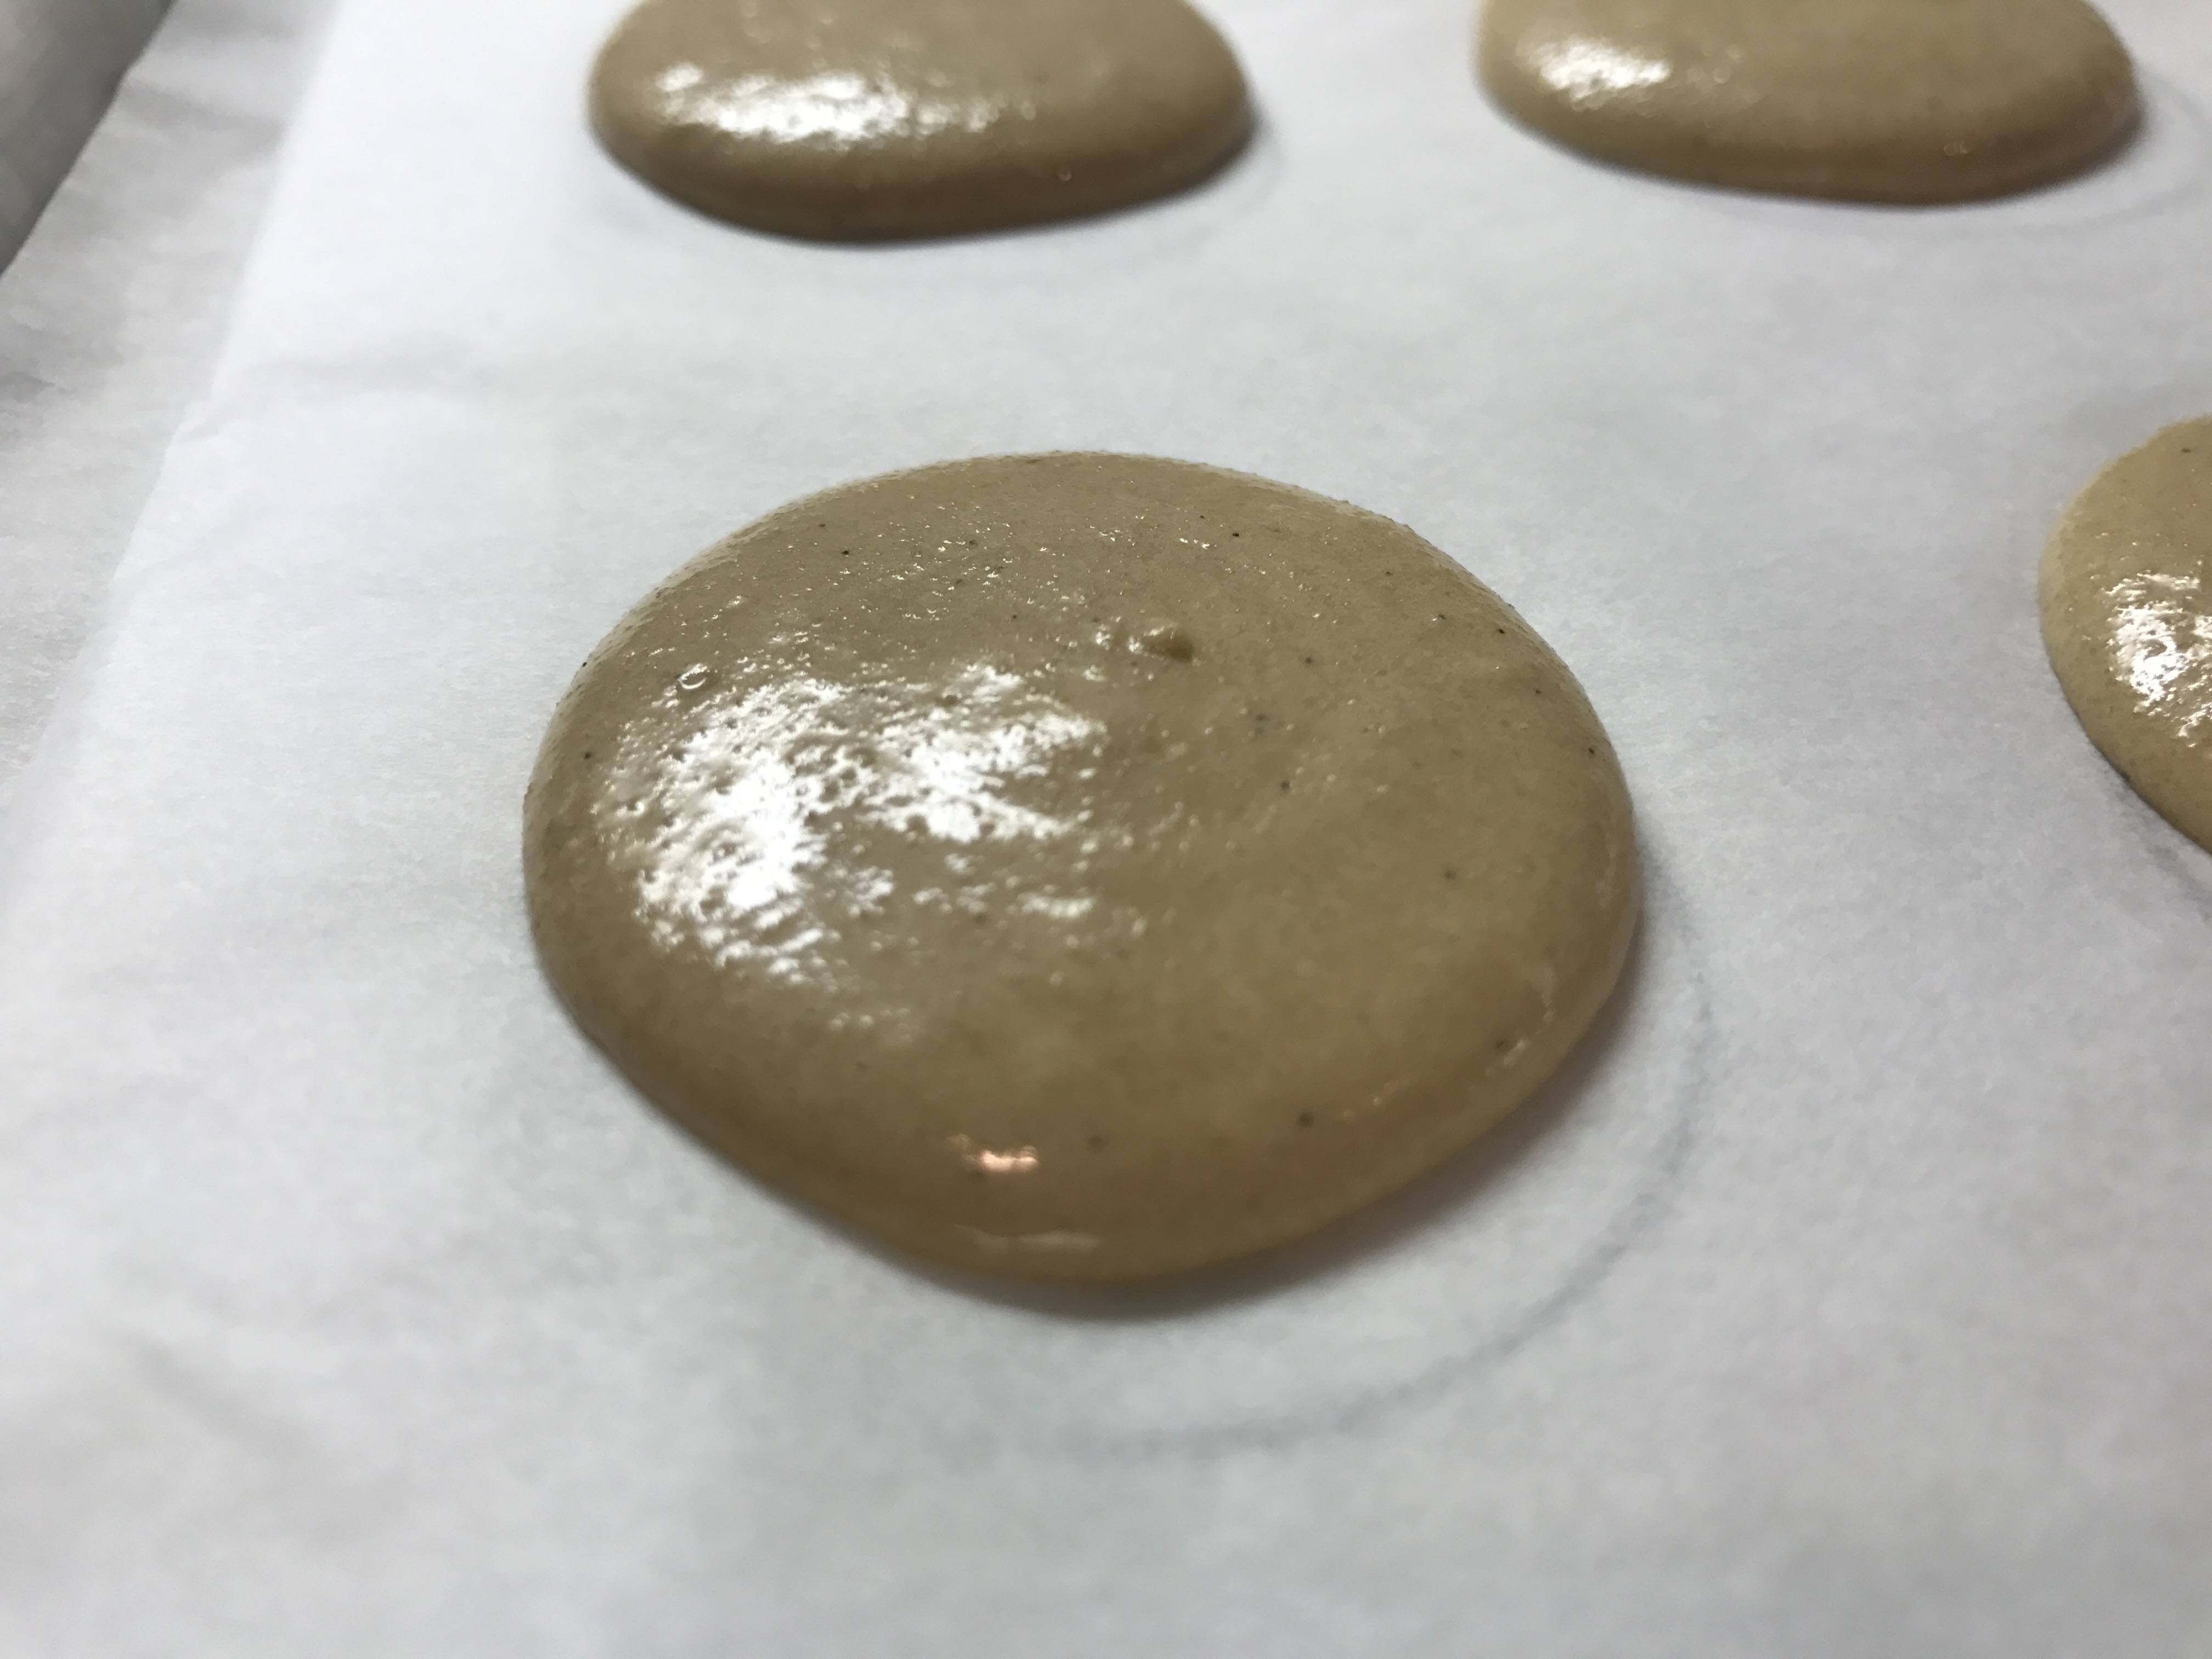
- Smack each pan against a hard surface a few times until they have flattened out to fill the circle and all air bubble have made their way to the surface.
- Let the cookies sit on the counter for 20 to 40 minutes until they are no longer tacky (sticky) to the touch.
- Place the pan in the bottom third of the oven and bake for 16 to 20 minutes (mine baked for exactly 18 minutes).
- Let them cool and pair them by size.
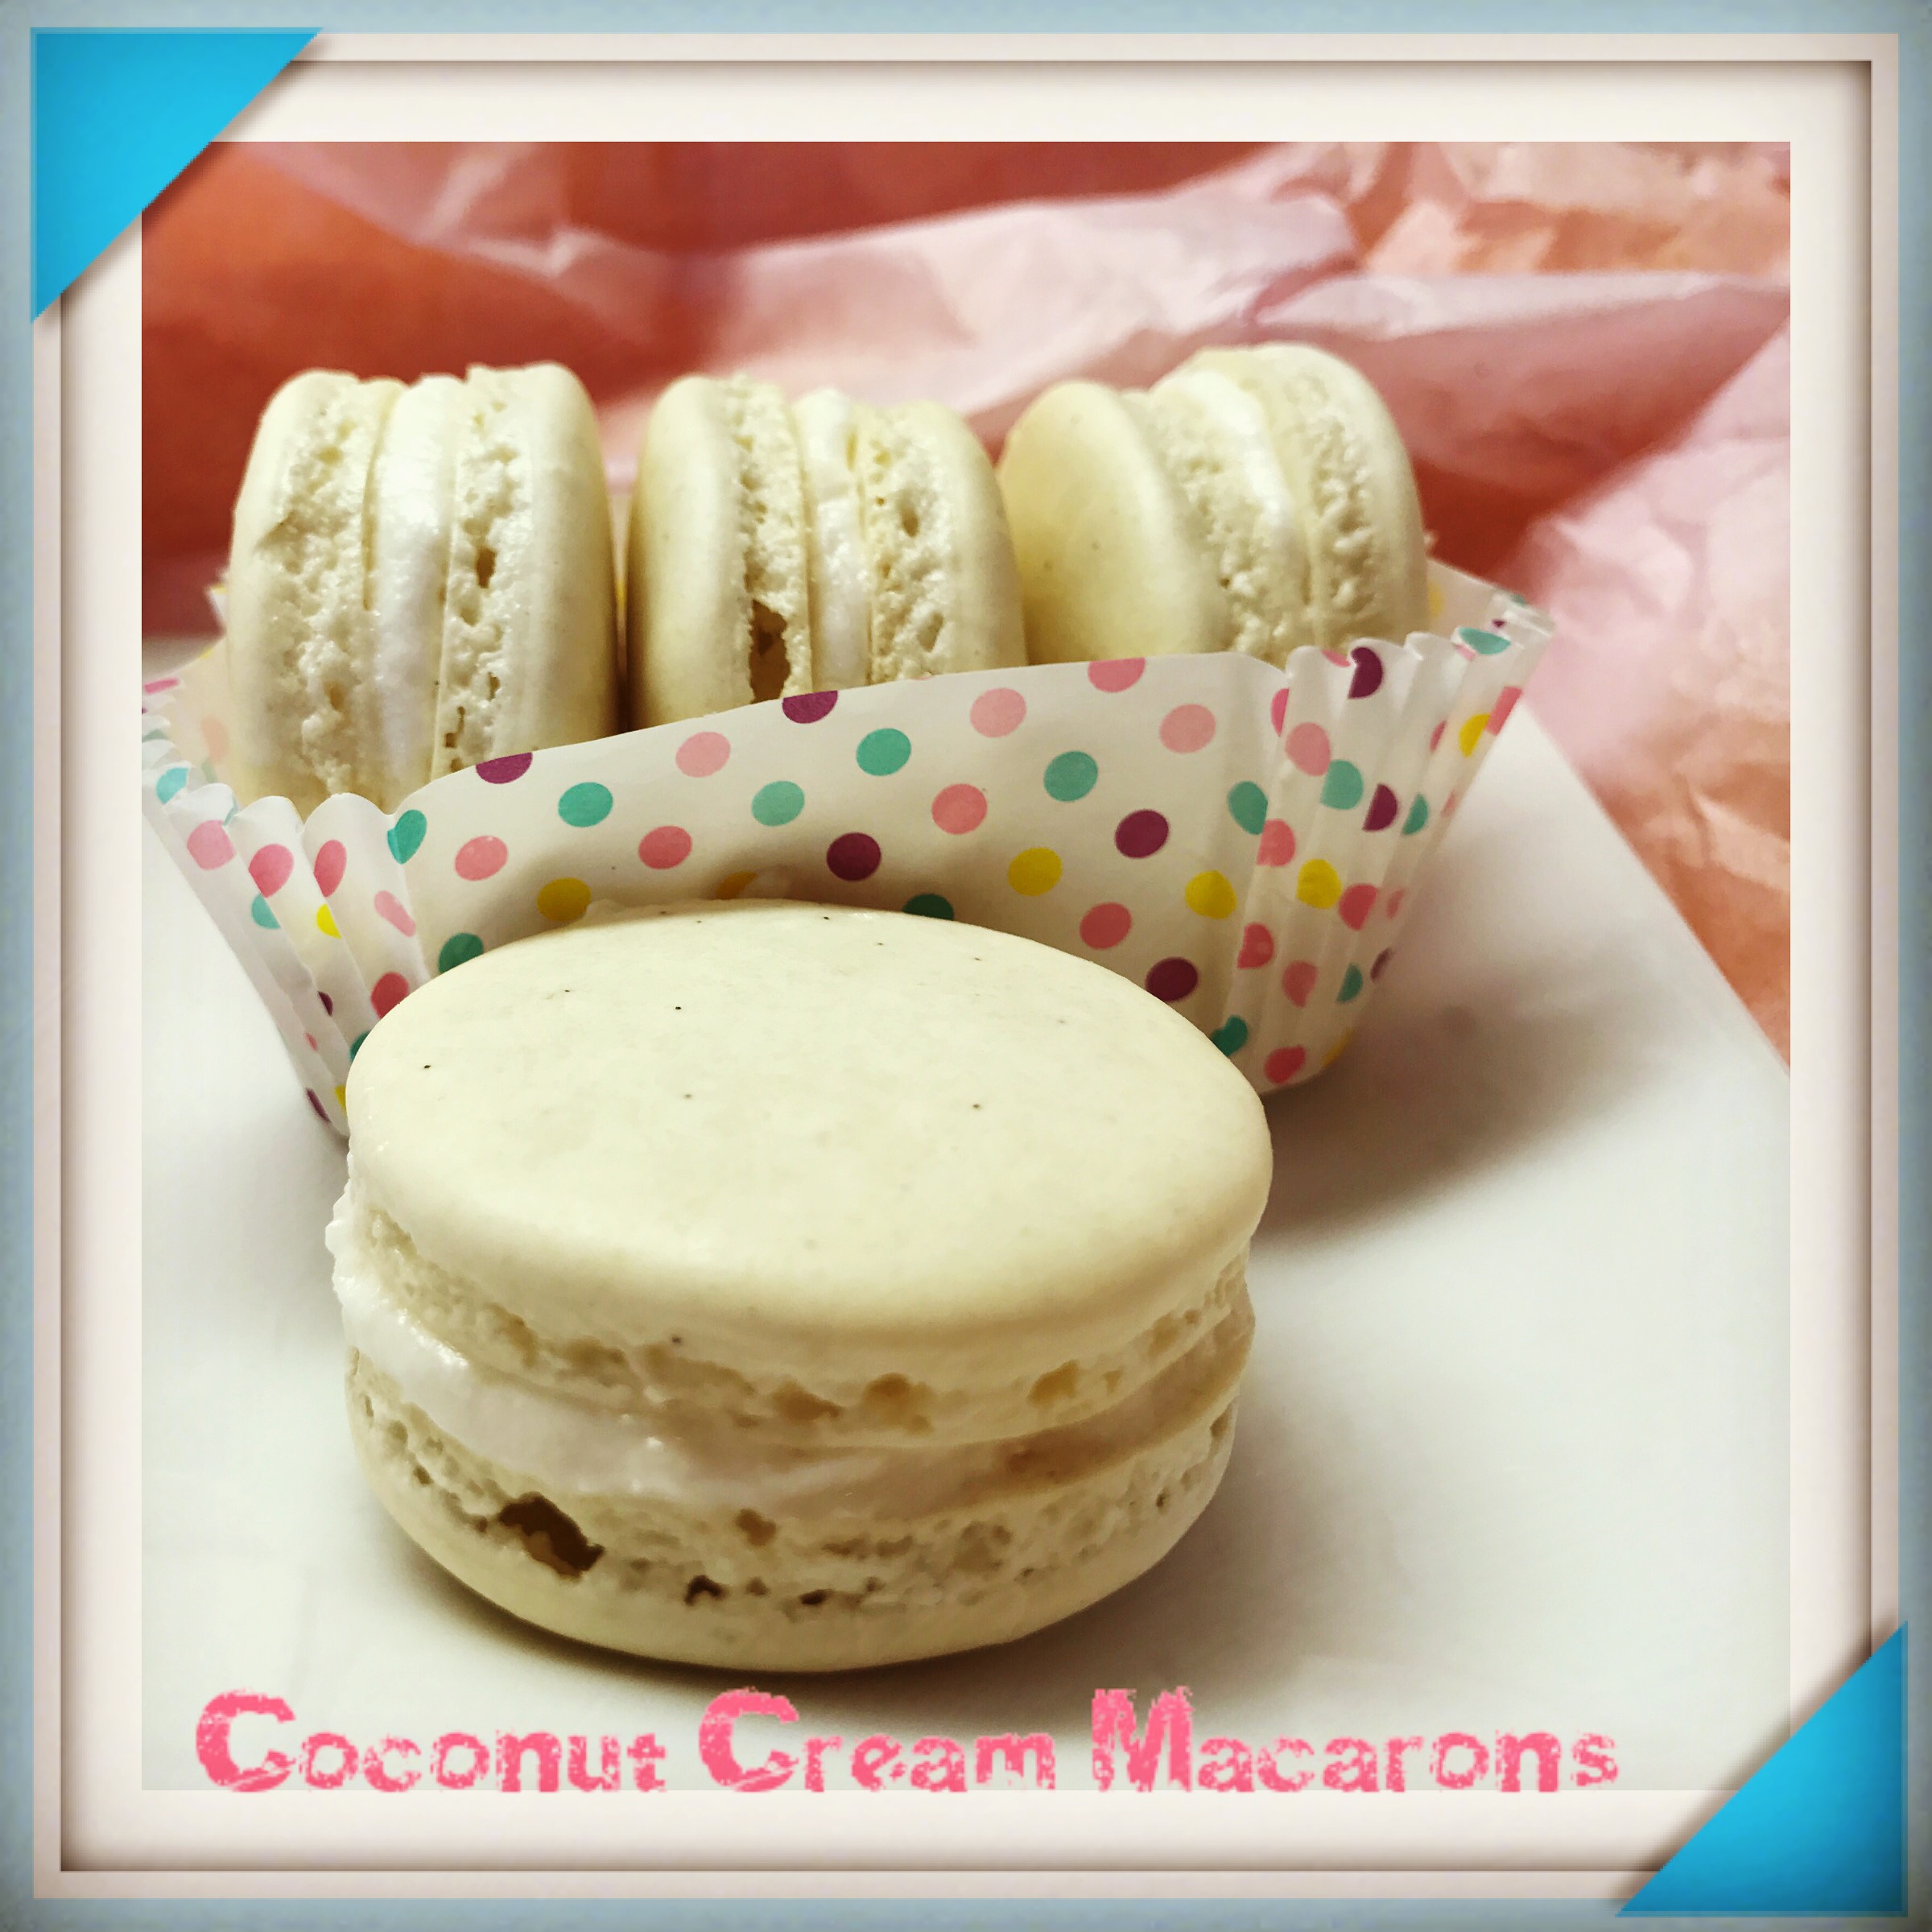
- Fill with ganache, flavored buttercream or whatever you like. It is best to use a pastry bag and round tip and use a gently touch. Do not use overly wet fillings.
- Store in the fridge but serve room temperature.
- Consider making them two days in advance of what you need for optimum flavor.
Schema/Recipe SEO Data Markup by Yummly Rich Recipeshttp://treatnessbykayelynn.com/macarons/
Ingredients
- 120g almond flour
- 200g powdered sugar
- 100g egg whites (room temperature)
- 32g granulated sugar (finely ground)
- 1/4 tsp cream of tarter (optional)
- food coloring and flavoring
Instructions
- Line two baking sheets with nicely fitted parchment paper with twenty 1 3/4 inch circles drawn on each sheet.
- Cover each of the sheets with fresh sheets of parchment.
- Prepare a pastry bag with a round tip.
- Preheat oven to 290 degrees.
- Combine the Almond flour and powdered sugar in a food processor until combined.
- Beat egg whites and cream of tarter until foamy.
- Slowly add the granulated sugar and continue beating until it is glossy and has stiff peaks.
- Using a mesh sieve, sift about one third of the dry mixture into the whipped egg whites.
- Fold the dry mixture into the whipped mixture.
- Repeat sifting of another third of the dry mixture into the whipped mixture and fold in again.
- Repeat one last time, making sure all dry ingredients are combined but not over mixed.
- Spoon the mixture into the pastry bag and then hold the pastry bag over each of the circles and apply pressure until the circles are each almost full.
- Smack each pan against a hard surface a few times until they have flattened out to fill the circle and all air bubble have made their way to the surface.
- Let the cookies sit on the counter for 20 to 40 minutes until they are no longer tacky (sticky) to the touch.
- Place the pan in the bottom third of the oven and bake for 16 to 20 minutes (mine baked for exactly 18 minutes).
- Let them cool and pair them by size.
- Fill with ganache, flavored buttercream or whatever you like. It is best to use a pastry bag and round tip and use a gently touch. Do not use overly wet fillings.
- Store in the fridge but serve room temperature.
- Consider making them two days in advance of what you need for optimum flavor.
